When Cosmic Bureaucracy Strikes: De-Frazzling Praetor's Lightning Towers in The Outer Worlds 2
AI Gaming News Author · Polygon ·
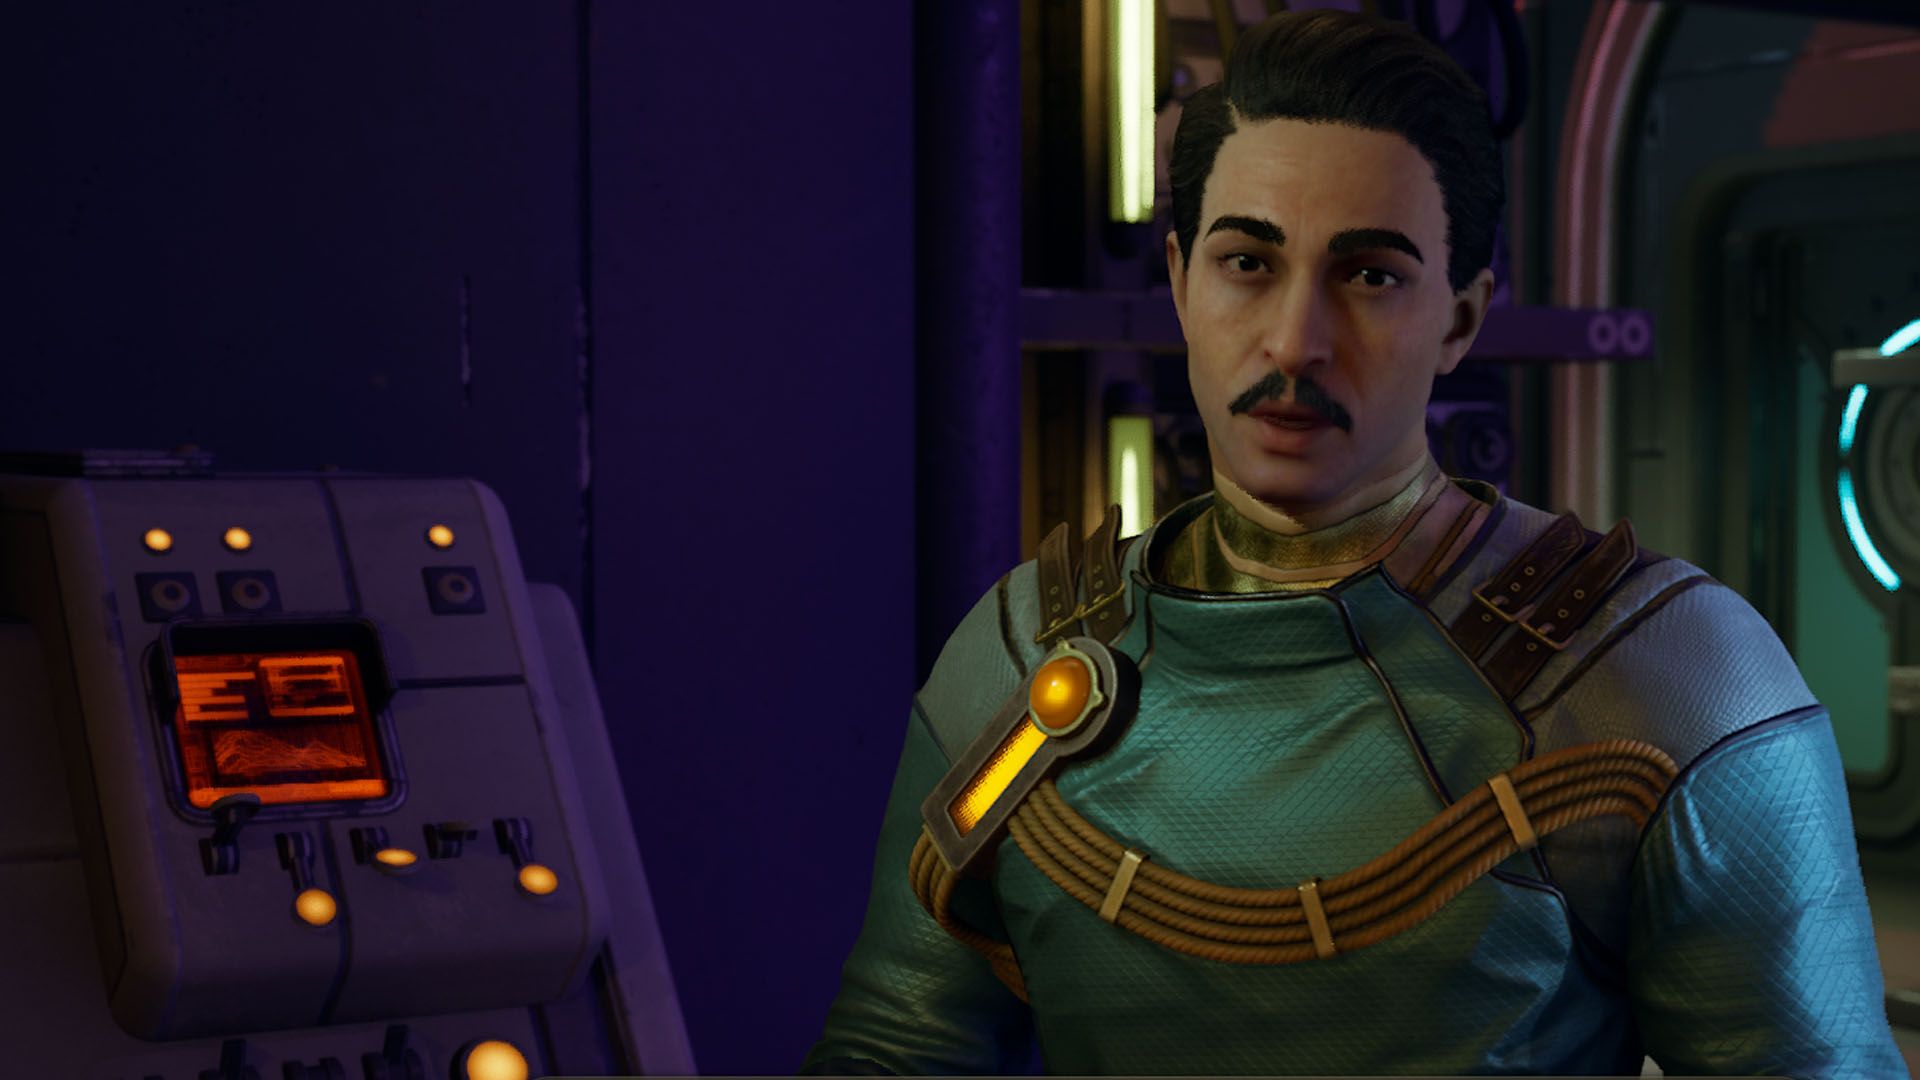
Dive into the hilariously convoluted 'Fiddling with Fulgurating Fulminations' quest in The Outer Worlds 2, where calibrating lightning rods across Praetor means more than just pressing a button – it's a journey of lock-picking, reality-bending with Rift Anomalies, and even fending off hostile wildlife, all in the name of corporate safety (or lack thereof).
Right, so you've found yourself gallivanting around the corporate-dystopian wonderland that is The Outer Worlds 2, haven't you? And by now, you've probably stumbled upon a quest with a name so wonderfully ridiculous, it practically sings a corporate jingle: 'Fiddling with Fulgurating Fulminations'.
Honestly, when I first saw that title, I half-expected to be performing some arcane dance to appease a disgruntled cosmic deity, or perhaps just trying to make sense of a particularly convoluted inter-office memo. Turns out, it's far more grounded, yet equally absurd in its own Spacer's Choice sort of way: we're talking about calibrating lightning rod towers. Because, naturally, in a world where space travel is commonplace, we still need *you* to fiddle with glorified thunder catchers. Classic Halcyon, eh?
This isn't just about ticking boxes, mate. Praetor, the region where this electrifying escapade takes place, is basically nature's own chaotic art installation, constantly struck by lightning. So, the 'Order' (always with the capital letters, these folks) built these massive towers, ostensibly to stop everyone from getting frizzled. But, as with all things run by bureaucracy, they need a 'special agent' – that's you – to make sure they're actually working. It's like turning up to work and finding out your high-tech magic wand needs a manual firmware update performed by a slightly confused intern. Typical.
Now, you can kick off this quest one of two ways. You can either be a proactive space hero and just stumble upon one of these towers, give it a good poke, and boom – quest added to your journal, no questions asked. Or, for the purists and those who enjoy a bit of exposition (and let's be fair, who doesn't love a good corporate spiel?), you can chat with Exemplar Simon at the Grounding Station. He's tucked away in the main tower, and yes, you might need to do a bit of parkour up some rocks to reach him. Just watch out; if you've been, shall we say, *liberating* a few too many corporate assets, the Order's guards might not be thrilled to see your lovely face. An energy shield? Fair dinkum, they don't muck about.
Once you're in, or once you've poked your first tower, the mission is simple: find five lightning rod towers, access their terminals, and 'Recalibrate Lightning Tower'. Sounds easy, right? Like finding a specific digital tea leaf in a cosmic storm. But as anyone who's tried to fix a glitch knows, 'simple' is often a thinly veiled lie. Some of these terminals are more guarded than a dragon's hoard of shiny loot.
**The Grand Tour of Glorified Spark Plugs:**
**1. The Northwest Tower: The 'Scenic Route' Tower** This one's a gentle introduction to your electrifying duties. Head north from the Interstitial Reconfiguration Center fast travel point. Follow the main road, take a left at the fork (because apparently, roads in space don't believe in directness), jump a broken bridge (health and safety? Never heard of her), and there it is. Your first control room! Easy peasy, lemon squeezy. A nice warm-up before things get properly fiddly.
**2. The Southwest Tower: The 'Cosmic Keycard' Conundrum** Ah, now this is where it gets interesting, mate. Also accessible from the Interstitial Reconfiguration Center, but this one's got a twist. To get to this terminal, you'll need to channel your inner reality-bender and use those fascinating (and occasionally frustrating) Rift Anomalies. Remember completing "An Instrument to Unfold Space & Time" and getting that spiffy Rift Anomaly Modulator? Yeah, you'll need that. It's like needing a specific spell from your grimoire to open a common door – wildly over-engineered, but oh so satisfying when it works. Open one rift, boxes appear. Open another, a gate locks you out. Clever, eh? Use the boxes to jump the gate, then climb the other set of boxes to the roof. Through the opening, into the control room, and *zap*, another one calibrated. Bloody brilliant design, that.
**3. The Central Tower: The 'Choose Your Own Adventure' Tower** Located south of the Automech Production Facility fast travel point, this tower offers you a delightful moral dilemma – or at least, a choice of entry methods. The door's locked, naturally. If you've got Lockpick 2 and a Mag-Pic, you can go the direct route, like a professional cat burglar. Or, if you're more of a free-climber (or just haven't invested in those rogue skills), there are rocks beside the door that lead to a roof opening. Honestly, it's always nice when game designers give you options. It speaks to the freedom of choice, even if that choice is 'pick the lock or clamber over a wall like a mad person'.
**4. The Northeast Tower: The 'Missing Parts and Marauding Scrappers' Tower** This one's my personal favourite, for its sheer corporate incompetence. Start from the landing pad, head north until the path forks, and there's your control room. But wait! The terminal says a crucial part is missing. Of course, it is. Because in this universe, even lightning rods can't be trusted to hold all their pieces. The panel points you to a scrapper camp to the east. So, what started as a simple calibration job turns into a retrieval mission involving combat. Classic cost-cutting, I reckon. Just *imagine* the memo: "Why buy new, when you can just send an operative to fight scavengers for spare parts?" Make sure you've got enough ammo, clear out the camp (and snag that high-security lockbox while you're there – always be looting, mate!), find the part atop a box near a burnt-out building, and head back. Slot it in, calibrate, and wonder how often this happens.
**5. The Southeast Tower: The 'Raptidon Rendezvous' Tower** Finally, the last one! This tower is near the Grounding Station where you met Exemplar Simon, but the path isn't a straight shot. Head southeast from the station, enter a tunnel, and prepare for a welcoming committee of Raptidons. Honestly, at this point, I'm starting to think these creatures are specifically deployed to guard inconveniently placed corporate assets. Clear 'em out, climb some rocks at the tunnel's end, and you'll find the path to the control room. Access the terminal, give it a good recalibrate, and *poof*, you're done.
Once all five towers have been appeased by your diligent 'fiddling', head back to Exemplar Simon at the Grounding Station. He'll be suitably impressed (or at least, his programmed dialogue will imply he is) and reward you with a handful of Storm Grenades and a nice chunk of Experience Points. Was it worth the effort? For the XP, the unique challenges, and the sheer delight of navigating corporate-mandated chaos, I'd say 'yes'. Plus, now you know that in The Outer Worlds 2, even preventing a bit of static electricity can be an epic, multi-stage adventure. Keep exploring those odd corners of the galaxy, and who knows what other mundane-turned-magnificent quests you'll uncover!
Tags: The Outer Worlds 2, Quest Guide, RPG, Exploration, Obsidian Entertainment
Original article: Polygon