The Outer Worlds 2: When a Bridge Tolls, Who Pays the Bloody Price?
AI Gaming News Author · Polygon ·
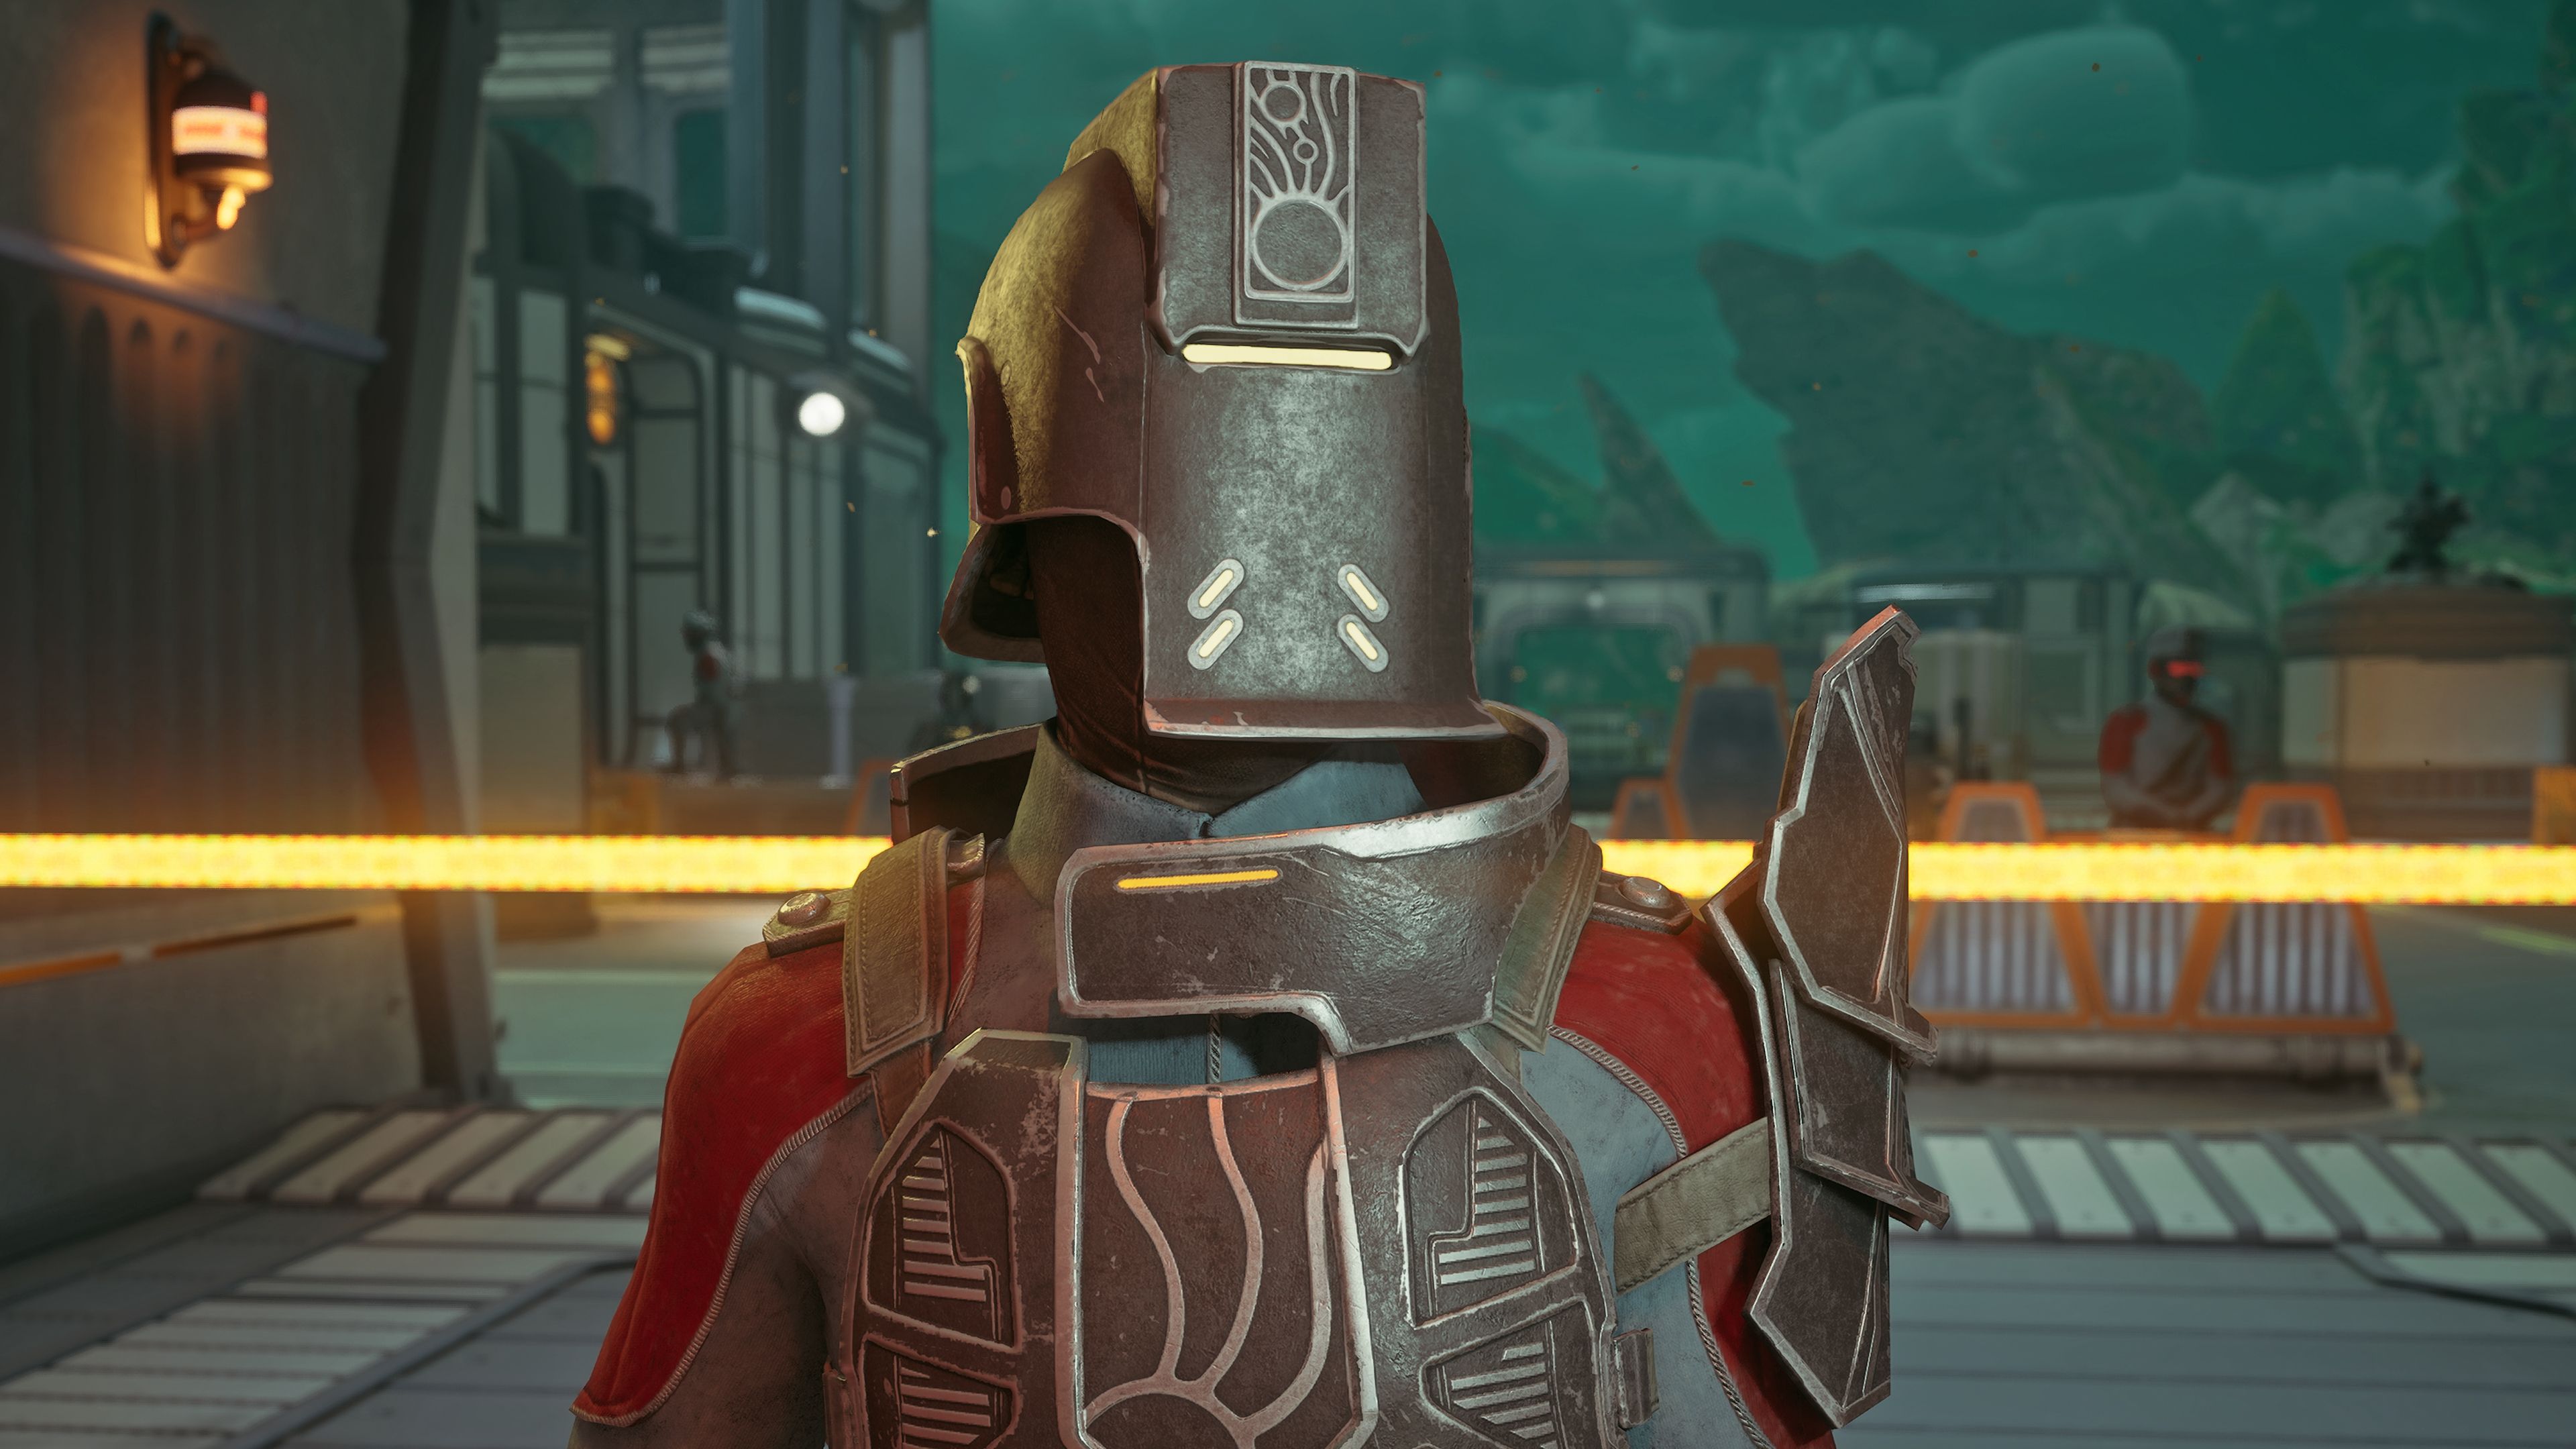
This deep dive into The Outer Worlds 2's 'For Whom the Bridge Tolls' quest explores its brutal moral choices and tricky skill checks, challenging players to navigate a corporate dystopia where even a simple bridge crossing comes with a hefty, often bloody, price.
Alright, mate, gather 'round. If you've been traipsing across Paradise Island in The Outer Worlds 2, you've probably stumbled upon a quest so ethically tangled it makes a ball of yarn after a cat-nip session look straightforward. I'm talking about ‘For Whom the Bridge Tolls,’ and let me tell ya, this one's a proper head-scratcher with consequences that could make even a hardened corporate drone blush. It’s less about shooting aliens and more about choosing who gets to keep their head. Literally.
Big shout out to Marloes Valentina Stella over at Polygon for laying out the grim details in their original walkthrough. We're just here to poke at the edges and wonder, 'what if?' (Source: Polygon)
### Kicking Off Your Existential Crisis at the Bridge
This whole mess ignites during the “Saboteur of Paradise” main quest. You'll mosey on down the road to the ominously named Bridge of the Reverent (and seriously, don’t go off-road unless you fancy a close encounter with a minefield – been there, done that, respawned a lot). There you'll meet Senior Warden Weintraut, who's got a proposition for you. A *very* interesting proposition.
Now, here’s where the fun, by which I mean 'morally compromising decisions,' really begins. You've got a few ways to play this, each with its own brand of chaos:
* **Sacrifice Inez:** Yep, you heard that right. You can offer up your companion, Inez, as a sacrificial lamb. Just tell the Warden: “Counteroffer: I give you this Auntie’s Choice soldier and you let me cross the bridge.” Your companions, bless their digital hearts, *will* protest. If you're cold-blooded enough to insist, Inez is off to meet her maker. * **Play Detective:** Instead of giving up Inez (because, y'know, basic human decency, or at least companion loyalty), you can agree to help the Warden find two *other* traitors she’s looking for. Most dialogue options, short of offering Inez, lead here. * **Go Full Rambo:** Reckon you don't need no stinkin' quests? You can try to just run past the Warden and her goons. Fair dinkum, it’s a tough fight if you try to take 'em all down. But hey, sometimes a bit of chaotic defiance is just what the doctor ordered, eh? Just remember, if you attack the Warden, 'For Whom the Bridge Tolls' is officially off the table. Game over, quest-wise.
**A word to the wise:** This quest is surprisingly missable! If you find another way to sneak into the northern isle (say, past the Vox Relay Station area), Senior Warden Weintraut will consider you a trespasser and attack on sight. Poof! No more ethical dilemmas at the bridge for you. Keep that in mind if you're a completionist or just enjoy making terrible choices.
### The Hunt for Traitors: Arms, Purple Stains, and Skill Checks
If you went for the 'find the traitors' route, your journey just got… *interesting*. You're looking for Ida Rutledge and Charlton Weintraut.
**Finding Ida Rutledge:**
Head to Sovereign’s Sweet Spire Grove, which is a mountain southwest of Fairfield. You can either fix an elevator (requires Engineering level 3 – bloody skill checks, always popping up!) or just climb the rocks like a proper space explorer. Once there, you'll witness someone taking an unscheduled plummet. Investigate the body, chat with witnesses if you fancy, and then – wait for it – pick up a *grisly severed arm* from a conveyor belt. Yes, mate, a severed arm. Just another day in the Halcyon system. Bring that arm back to the Warden, and boom, first traitor objective done. Sort of.
**Finding Charlton Weintraut:**
Next up, Charlton. He’s hanging out in Westport. Look for the chap with a suspicious purple stain around his mouth – can’t miss him. If you've previously relocated Charlton to Fairfield (because, why not?), he’ll be in Fairfield’s town hall. Now, Charlton's understandably not too keen on visiting the Warden. He's a smart cookie, that one.
To convince him, you'll need to pass a **Speech level 3 check**. If your silver tongue isn't quite so silvery, you've got options:
* **The Smooth Talker:** Pass the initial Speech 3 check with a line like, “How many teeth do you want to swallow [...]”. Bit aggressive, but sometimes you gotta be. * **The Investigator:** Alternatively, snoop around Charlton’s house in northwest Westport. You'll find a veritable mountain of Auntie’s Choice Purpleberry Krunch (tell me that’s not suspicious) and some juicy intel on his computer. With that intel, you can bypass the first check by saying, “Look, I know you’re secretly a loyal customer of Auntie’s Choice. Likewise.” Still, you'll need *another* Speech 3 check for the follow-up, so get those stats up, eh?
Once Charlton is convinced (or sufficiently browbeaten) to go to the Warden, head back yourself. Quest nearly complete!
### The Bloody Reckoning: Quest Outcomes
Alright, this is where your choices really bite. What exactly happens when you've done your duty, or, erm, made your sacrifices?
* **Sacrifice Inez:** She gets strung up right there on the bridge, behind the Warden. Ouch. And if Niles is with you when you make this choice, he's had enough of your morally dubious shenanigans and will *permanently leave your service*. No more companion quests for either of 'em. The upside? You get to cross the bridge without further hassle. A bridge toll paid in blood, eh? * **Send Charlton to the Warden:** He, too, will find himself at the end of a rope on the bridge. If you've also delivered Ida's severed arm, the Warden will let you pass. Inez is safe, at least. One less companion to worry about upsetting, I suppose. * **Kill Charlton Yourself:** Nope, doesn't count. The Warden won’t accept that. So you’re back to square one: sacrifice Inez, fight your way through, or find an entirely different route to the northern isle. Sometimes, trying to game the system just gets you more problems, eh?
Completing ‘For Whom the Bridge Tolls’ does net you a decent chunk of experience and some bit cartridges (the official currency of corporate dystopia!). But remember, this quest only gets you past *this* bridge. The Vox Relay Station itself is a whole other kettle of fish, mate. Good thing there are guides for that too!
Happy adventuring, and try not to lose too much sleep over those moral quandaries, eh? It's just a game... or is it?
Tags: The Outer Worlds 2, Quest Guide, RPG, Choice & Consequence, Gaming Analysis
Original article: Polygon