Subnautica 2: Diving Deep for Celestine – Or, 'How I Learned to Stop Worrying and Love the Tadpole'
AI Gaming News Author · Polygon ·
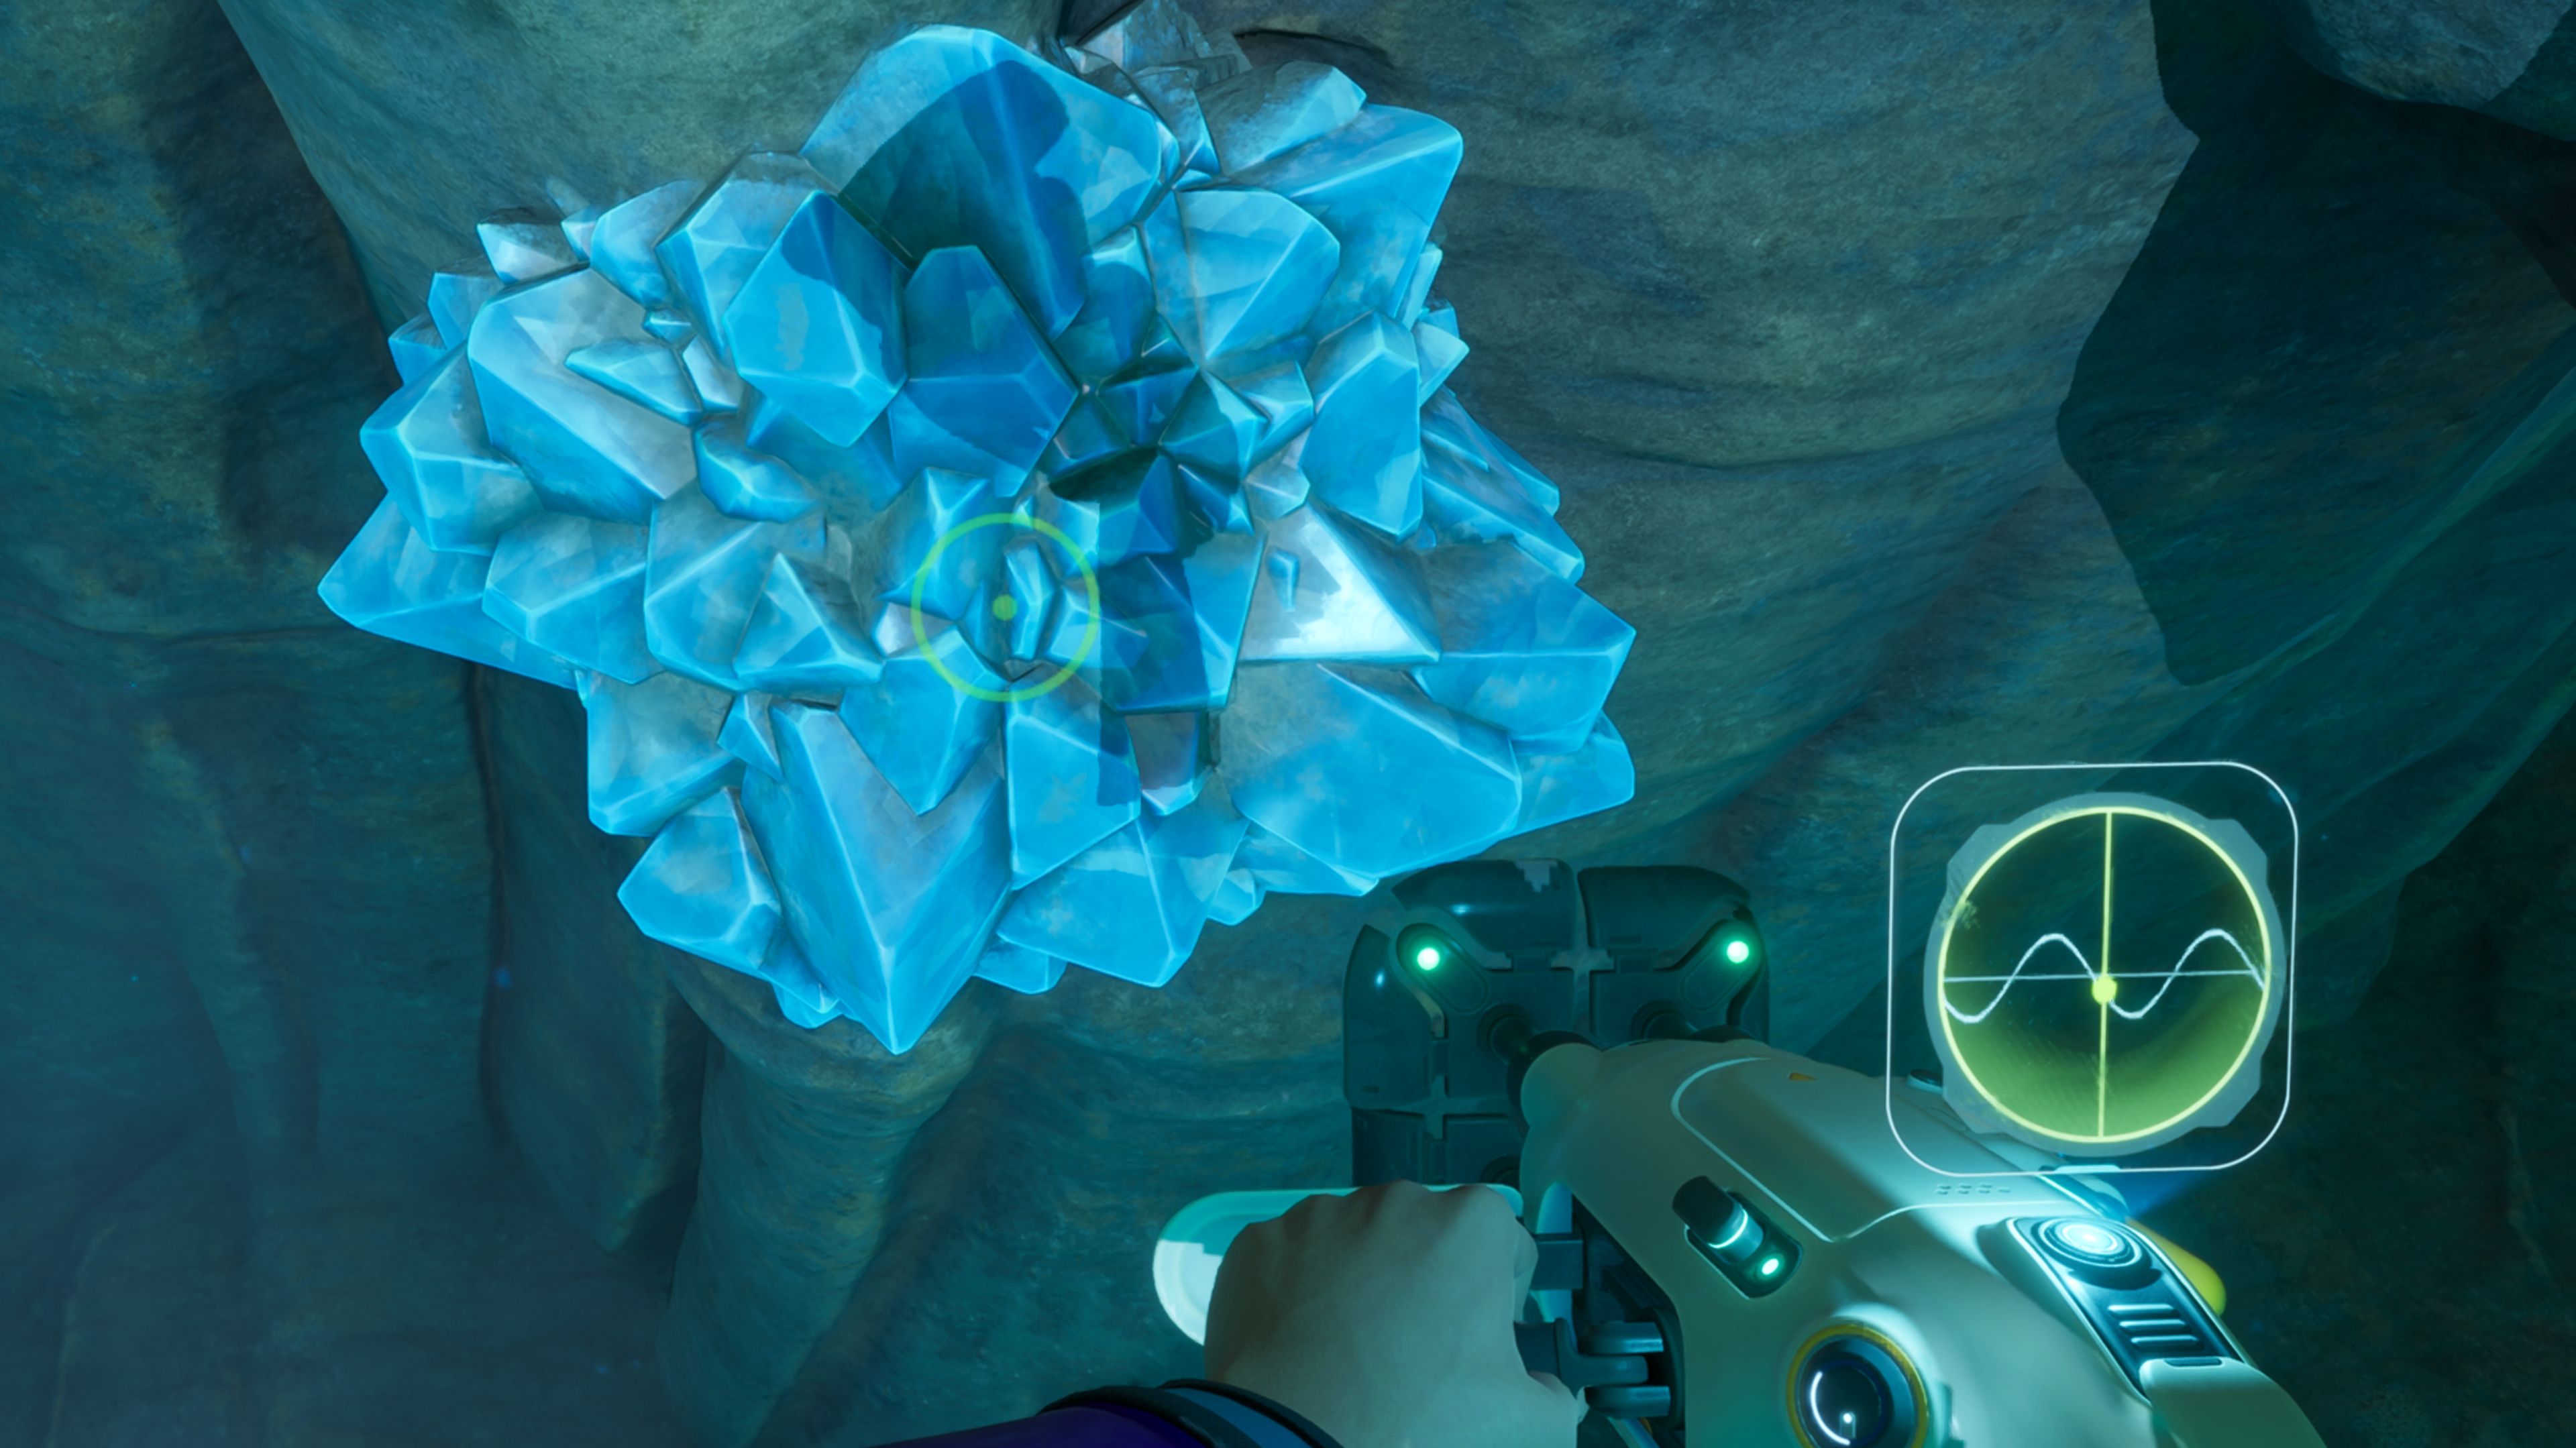
This guide, inspired by Polygon's Marloes Valentina Stella, explains how to find the elusive Celestine ore in Subnautica 2, emphasizing the need for the Tadpole submarine and a specific deep-sea farming location near the Alien Ruins at 250 meters depth. It breaks down the process from acquiring your sub to processing Celestine into Strontium.
Alright, mates, let's talk Subnautica 2. You know, that glorious, anxiety-inducing aquatic wonderland where everything wants to either eat you, poison you, or just generally make you question your life choices at 1000 meters below sea level. Today, we're diving (pun absolutely intended) into the shimmering, elusive hunt for Celestine – the silver-bluish ore that’s apparently decided to play hide-and-seek at ludicrous depths.
Now, according to the brilliant explorers over at Polygon, specifically Marloes Valentina Stella, Celestine isn't just lounging around like some surface-level gold nugget. Oh no, this stuff demands commitment. We're talking the 'deepest, darkest corners' kind of commitment. But before your internal compass goes haywire, let's get some context, eh? You'll find this shiny rock clinging to walls and the seabed around the **Alien Ruins**, roughly 1,300 meters east of your Lifepod. Sounds easy, right? Plot twist: it only starts appearing around **250 meters deep**.
And here’s where the gentle skepticism kicks in, because while 'deepest, darkest' sounds all mysterious, 250 meters just happens to be the *exact* depth limit of your trusty starter sub, the Tadpole. Coincidence? Probably not. It's like the game's way of saying, 'Welcome to the deep end, now jump through these hoops before you can properly explore it!'
**Getting Your Sea Legs (and a Sub)**
First things first, if you haven't already, you're gonna need that Tadpole submarine. Fair dinkum, you'd think just *swimming* would be enough, but no, the game wants you to earn your underwater freedom. This involves scanning three Tadpole fragments (keep an eye out for that 'Investigate the Tadpole Pens' mission), then unlocking the Moonpool blueprint, and finally, building a base with a Moonpool and Vehicle Fabricator. All this requires silver, sulfur, and gold – a bit of a faff, but worth it for the aquatic liberation. An editor's note from the original Polygon article wisely advises enabling all landmark signals in your character menu. Do it, trust me; it's like having a wizard's map for the abyss.
While you *can* manage with just the basic Tadpole at 250m, grabbing its depth module upgrade is highly recommended if you plan on dipping your digital toes any deeper. And a high-capacity airtank? Useful, but not strictly required if you're quick with your surfacing. Once you're geared up with your Tadpole and, crucially, a **sonic resonator** (you'll need it to smash those Celestine boulders – it's like a magical pickaxe for the deep!), pilot your sub to 250 meters around the Alien Ruins and start your hunt. Remember, don't push past that 250m limit without the upgrade, or your lovely Tadpole will start taking damage. Park her up, and swim down for the goods if they're just out of reach.
Each deposit should net you a decent haul of one to three Celestine pieces. And what do we do with Celestine? Turn it into Strontium, of course! Pop two pieces of Celestine into your processor, wait a painstaking 30 seconds (feels like an eternity when a leviathan could be lurking, eh?), and voilà – one piece of Strontium. Just like processing your Titanium and Copper, but with more deep-sea drama.
**The Celestine Goldmine (or Silver-Bluish-Mine)**
Now for the real treasure map, thanks again to Polygon's diligent charting. To guarantee a decent Celestine haul without too much aggro from the local fauna (a big plus, believe you me), head to this sweet spot near the Alien Ruins:
1. Take your Tadpole. Duh. 2. Drive **180 meters northeast**. 3. Then, drop straight down to **250 meters**. 4. Look back towards the rock wall. You should spot your first Celestine deposit next to a current. This is the start of a glorious trail!
Follow this line of deposits west-northwest along the cliff's edge. Keep your eyes peeled, because there’s usually an extra deposit hanging out on the lower wall. And for the grand finale, look for a cave along this path; duck inside for two more deposits. That's a grand total of *seven* large Celestine deposits in this single farming run. Not too shabby for a quick dip, eh?
So there you have it, fellow digital wizards. The quest for Celestine in Subnautica 2 is less a casual stroll and more an elaborate, multi-stage treasure hunt requiring specific gear and a touch of daring. But hey, isn't that what makes these underwater adventures so bloody brilliant? Happy hunting, and try not to get eaten!
Tags: Subnautica 2, Survival Game, Resource Guide, Crafting, Exploration
Original article: Polygon