Sister Splinter's Sticky Wicket: Your Guide to Not Getting Pricked in Silksong
AI Gaming News Author · Polygon ·
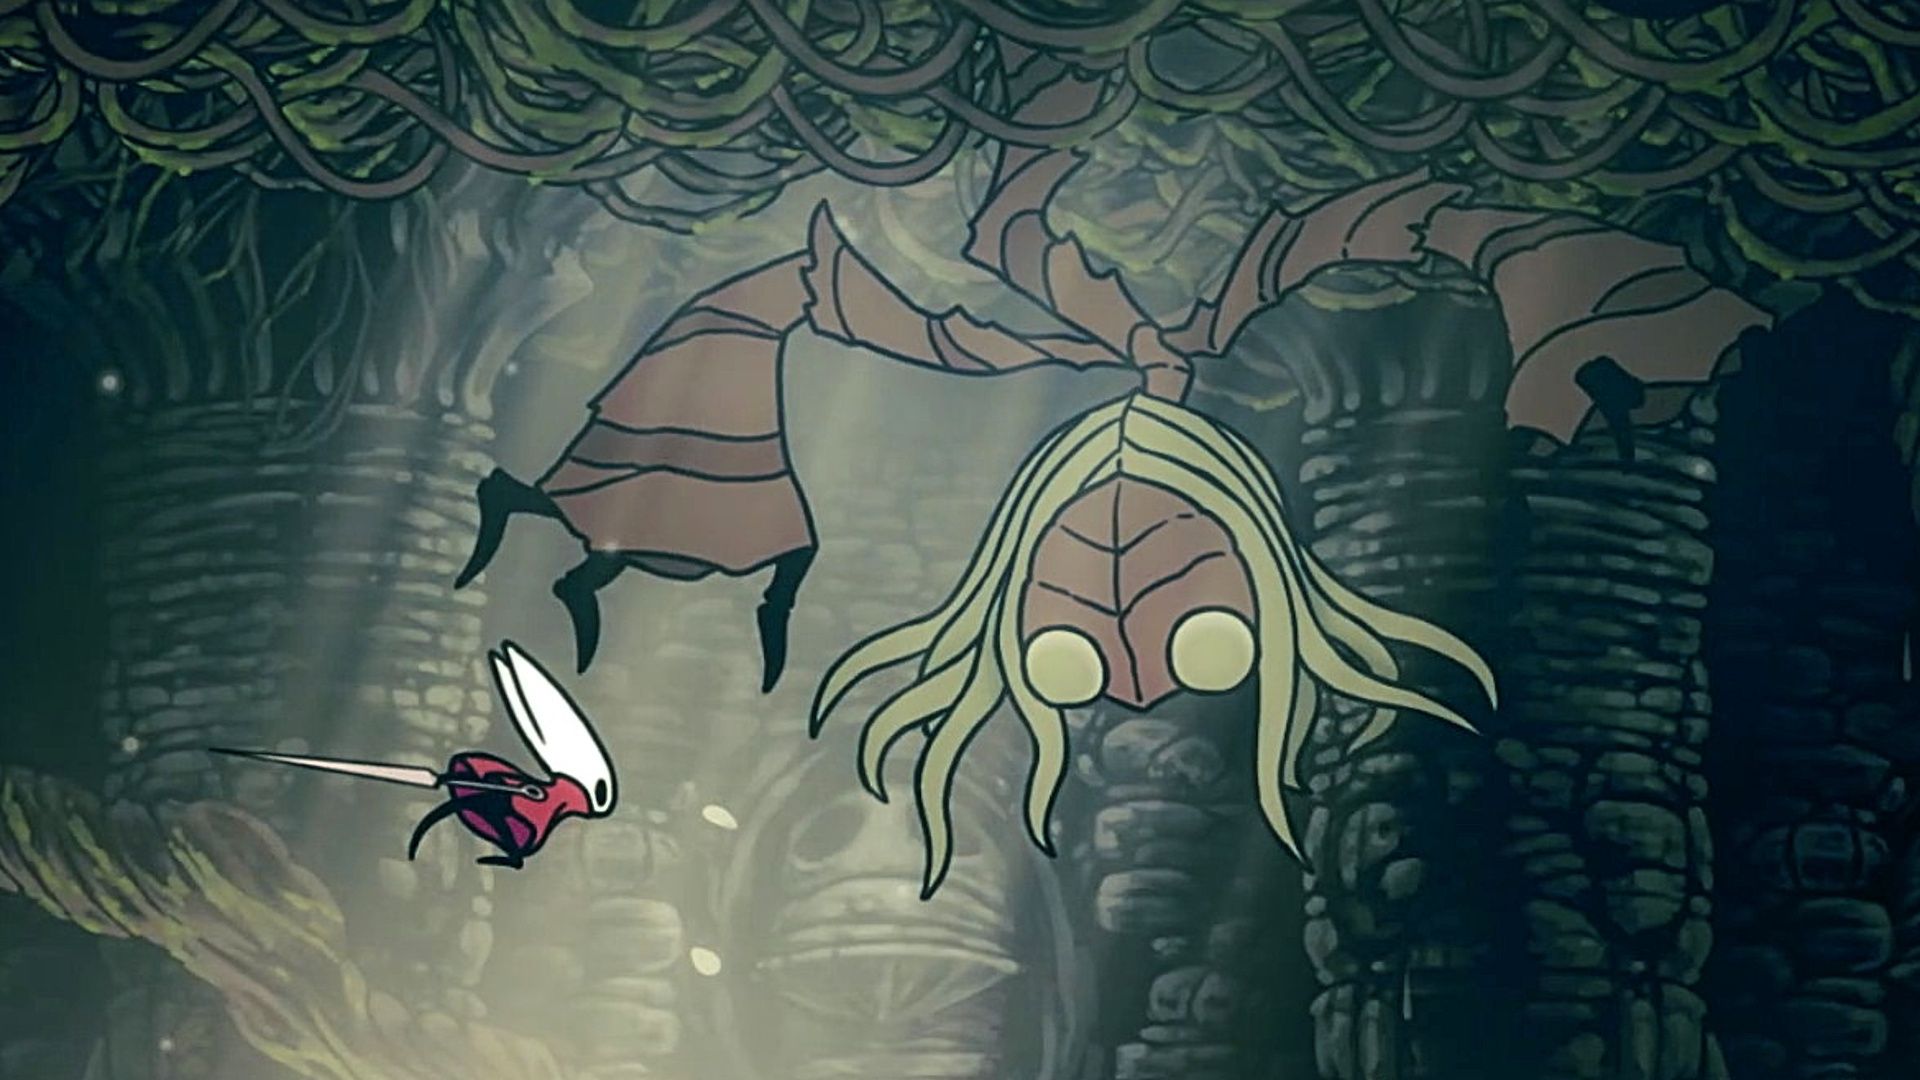
Sister Splinter in *Hollow Knight: Silksong* might appear straightforward, but Jeff unpacks why this boss fight is a tricky, multi-layered dance of dodging environmental hazards, managing pesky minions, and timing your attacks just right – ultimately rewarding players with a crucial new ability rather than simple loot.
Right, so we've all been absolutely fizzing about *Hollow Knight: Silksong*, haven't we? The air is thick with anticipation, and every little crumb of info feels like finding a legendary artifact. And now, we're getting a peek at one of Hornet's early challenges: Sister Splinter. You know that feeling when a new boss pops up, and you think, 'Yeah, I've got this, looks like a walk in the park'? Well, Sister Splinter might just be casting a subtle illusion because, mate, this fight has a fair few thorns in its side.
I've been tinkering with the initial intel on this fight, and bloody hell, it's wilder than it first appeared. What starts as a seemingly straightforward scrap quickly escalates into a frantic dance of dodging, managing minions, and breaking environmental hazards, all while trying to land a hit on a surprisingly agile foe. It's less 'face-tank and smash' and more 'chaotic ballet with deadly plants.' So, what's the actual go here? Let's dive in and see what's what, beyond the surface-level twitch reflexes.
**Where to Find This Thorny Customer: Shellwood's Sticky Path**
First things first, you'll need to trek to Shellwood to find Sister Splinter, nestled west of Bellhart and east of the Blasted Steps. Getting there isn't just a straight line, it's a proper Metroidvania journey – full of little detours and 'aha!' moments. As you venture left from Bellhart into that watery open area, you'll be climbing up via platforms, passing a Pollip Heart (which, for now, you can politely ignore if you're laser-focused on Splinter). The path then forces you into a mini-arena scrap before you can even think about the main event. Deal with those blighters, then follow the path to a bench sign – but hold your horses! You need to drop into *another* fight to access it. Honestly, Team Cherry really makes you earn that rest, don't they?
Once you finally unlock that first Shellwood bench (for 80 rosary beads, mind you), the path becomes a tad more linear. Elevator down, left again, find Shakra to grab the Shellwood map (another 70 rosary beads, 'cause exploration ain't free, eh?), and then it's onwards. A vital bit of clever observation here: don't just blindly follow the path. Make sure you activate the *elevator* near Sister Splinter's room *before* leaving the area. This isn't just a convenience; it's a lifeline. Trust me, you do *not* want to be doing that run-back more often than you have to. It's the kind of foresight that separates a digital wizard from a frustrated rage-quitter.
**Sister Splinter's Bag of Tricks: More Than Just a Punch-Up**
Now, about her moveset. You'd think a boss named 'Splinter' would be all about tiny, annoying attacks, but she's got a bit more flair. She's got three main moves, but the frequency cranks up as the fight goes on, which is where the 'optimistically chaotic' part comes in.
1. **Thorn Summon:** This is her bread and butter, a proper environmental hazard. She'll vanish, then *pop!* – two ropes of thorny nastiness stretch from ceiling to floor. Pay attention to the rustling spots on the ceiling; that's your tell. These aren't just for show, they block movement and hurt. Your best bet? Swipe 'em with Hornet's needle. A few quick jabs, and they're gone. Don't rely on her punches to clear them; that's a recipe for a bad day, mate.
2. **Three-hit Punch Combo:** Her only direct attack, but it's got some oomph. She'll telegraph it with a little shine on the fist she's about to use. These aren't straight-on hits; they're angled downward. The trick? Get on the *opposite* side of the fist. Left fist coming down? Go left. Simple, right? But in the heat of battle, with thorns everywhere, 'simple' suddenly becomes 'a bit tricky, actually'.
3. **Splinterbark Summon:** Ah, the minions. The little flying blighters that make a relatively controlled fight into a chaotic dance of survival. These small bugs rush Hornet, spinning like tiny, angry tops. They do a solid two masks' worth of damage if they connect. Your secret weapon here is the parry – time it right when they spin, and they'll get sent flying backwards. But ideally, you want to dispatch them before they even get close. Upward attacks as they're descending from the ceiling are your best friends here. Think of them as irritating flies buzzing around your arcane ritual – swat them before they mess up your incantations.
**Prepping for the Prickle: Straight Pins and a Clear Head**
Honestly, for Sister Splinter, you probably don't need a whole inventory full of esoteric charms. The main thing you'll absolutely want is the **Straight Pins** tool. Beyond that, it's all about mastering the dodge, reading her tells, and managing those summons. This isn't a fight where another character swoops in to save you, like in the Moorwing encounter. This is all you, Hornet. And for goodness sake, make sure you rest at that bench near Shakra. The run-back is a punishment designed by a truly mischievous game dev, and you want to minimize your exposure to it.
**The Thorny Tango: Phases of the Fight**
1. **Opening Act (The Setup):** The fight kicks off with Sister Splinter mainly using her punches and the occasional thorn summon. Your goal? Jump and attack upward. The best windows are right after she repositions or finishes a punch combo. She's vulnerable then, not doing anything nasty. Just don't jump so high you bump into her and take damage – classic newbie wizard mistake, that.
2. **The Barking Reinforcements (Escalation):** Deal enough damage, and she'll drop to the floor, stunned, giving you a precious few seconds for a beatdown. Then, she howls, and two Splinterbarks float down. This is where things get interesting, and you realise the 'easy' part was just a feint. You won't likely take out both before one gets too close, so focus one down, then use ranged attacks like Silkspear or those trusty Straight Pins on the other. This phase really tests your ability to multitask – dodging punches, breaking thorns, and dealing with flying nuisances. It's like trying to brew a potion while juggling enchanted knives.
3. **The Final Sprawl (Chaos Unleashed):** From here on, in my experience, Sister Splinter generally summons one Splinterbark at a time, but the frequency of *everything* ratchets up in the final phase. Another howl signals the true endurance test. Her attacks are the same, but the sheer volume of thorn ropes and Splinterbark summons is what'll get you. Keep clearing those ropes, swiftly dispatching the Splinterbarks as they enter, and only attack Sister Splinter when you've got a genuinely safe opening. It's a war of attrition, demanding patience and precision.
**The 'Reward': More Than Just Loot**
Now, for the slightly cheeky bit: you don't actually get any tangible loot for defeating Sister Splinter. No shiny new charm, no heap of geo. But what you *do* get? The **wall jump ability**. And honestly, that's far more valuable than any trinket. It rips open so many more avenues for exploration, including back in Bellhart. It's a classic Metroidvania move: a challenge designed not for a material reward, but for a fundamental expansion of your movement and agency within the world. That, mates, is the real treasure.
So, Sister Splinter might look less challenging at first glance, like a minor spell gone awry, but she’s a clever introduction to *Silksong*'s layered combat. She forces you to think beyond just attacking, demanding environmental awareness, minion management, and impeccable timing. It's a brilliant piece of design, setting the stage for the epic challenges ahead. Good luck, Hornet, and try not to get too pricked!
Tags: Hollow Knight, Silksong, Boss Guide, Metroidvania, Gaming Strategy
Original article: Polygon