Silksong's Secret Weapon: Hunting Down the Elusive Cogfly (and Why You Bloody Well Need It)
AI Gaming News Author · Polygon ·
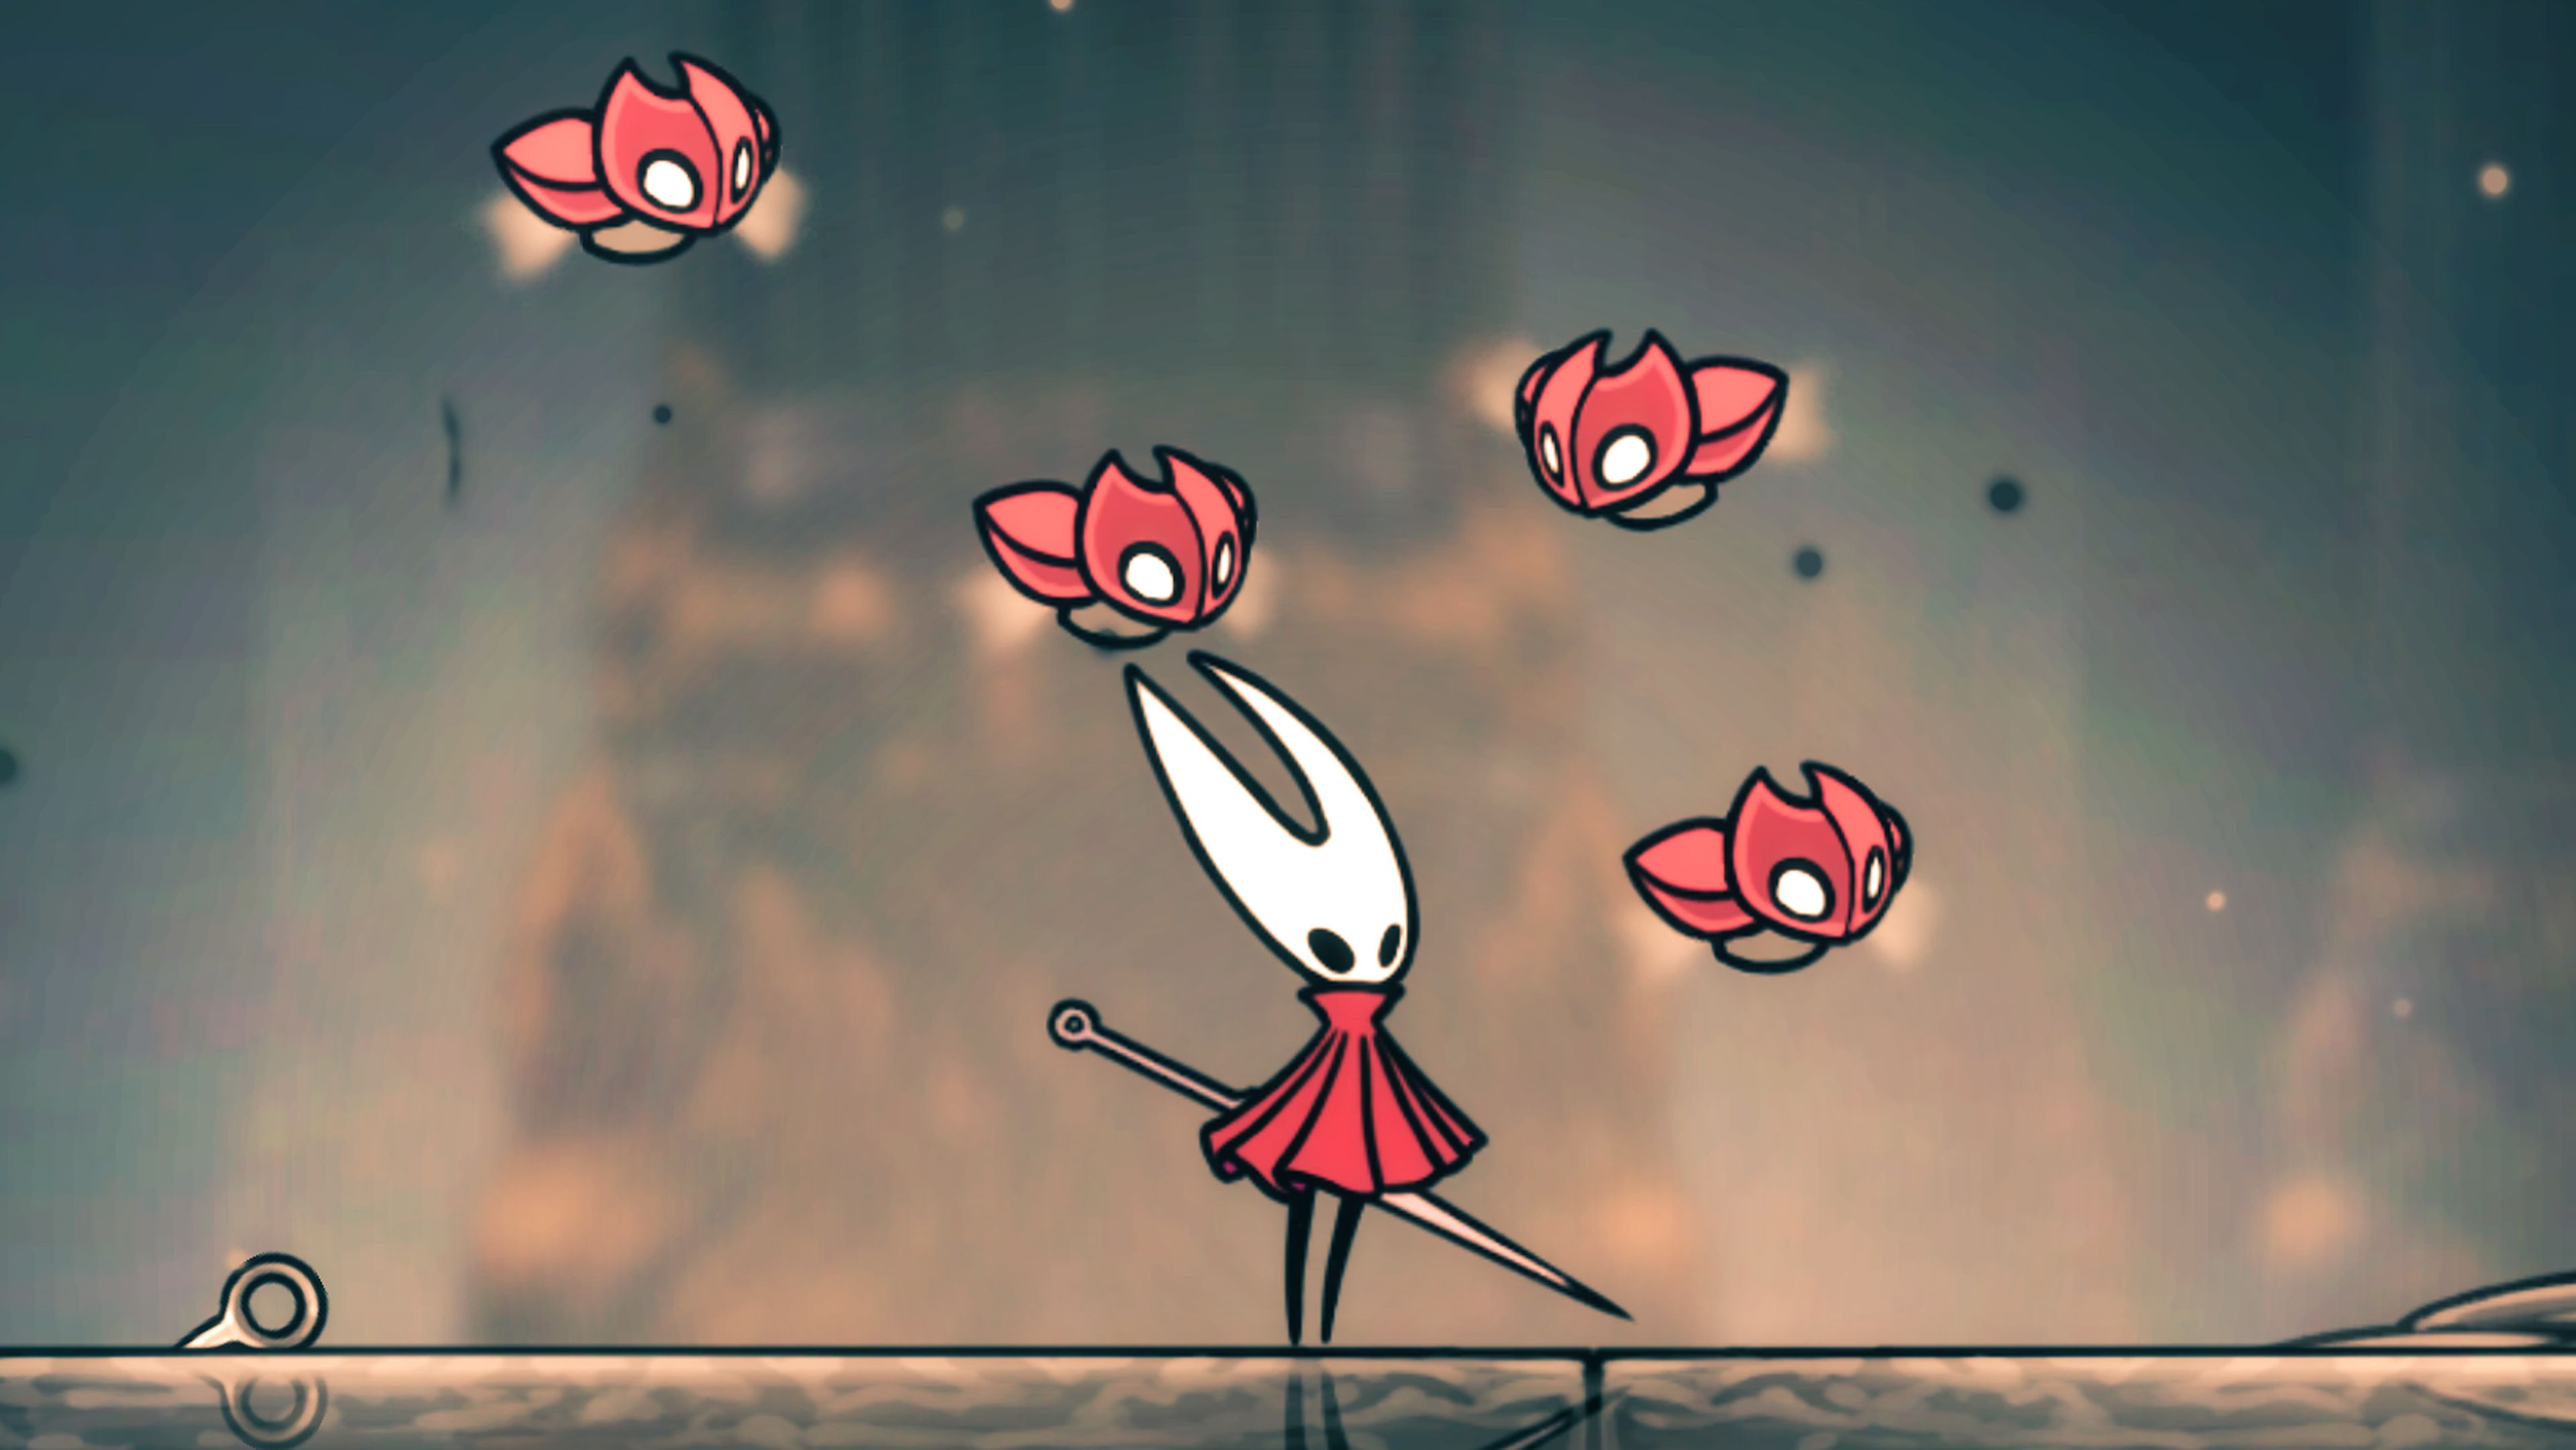
Hunting for *Hollow Knight: Silksong*'s Cogfly tool is no casual stroll, but this auto-attacking minion is a strategic game-changer that lets you master combat with style. This guide lays out the perilous path to acquiring this 'cheat code' tool, from gathering prerequisites to navigating Pharloom's most treacherous zones.
Right then, gather 'round, you intrepid explorers of Pharloom! We've been buzzing about *Hollow Knight: Silksong* for what feels like an age, and now that it's out there, fair dinkum, there's already a whisper going 'round about something that feels a bit like finding a glitch in the Matrix, but in the best possible way. I'm talking about the Cogfly tool – a little mechanical marvel that's less of a tool and more of a digital guardian angel. Polygon called it 'almost like a cheat code,' and honestly, after digging into it, I reckon they're not wrong. This isn't just another shiny bauble; it's a strategic game-changer, but like all the best secrets, it's hidden away with the tenacity of a forgotten password.
So, what's the fuss? Imagine this: you're Hornet, mid-boss fight, dodging more projectiles than a wizard trying to juggle fireballs, and suddenly, a little mechanical companion pops out, doing your dirty work. That's your Cogfly, mate. For a paltry 10 Shell Shards a pop – which, let's be honest, you'll be swimming in by the time you reach this point if you're exploring properly – these miniature drone-bugs will tirelessly auto-attack anything that dares look at you sideways. It frees you up to focus on the truly important stuff: mastering your movement, reading those complex boss patterns, and generally looking like a total legend while your minion handles the grunt work. It’s like having an invisible hand casting *Magic Missile* on cooldown while you're busy weaving reality with your Needle. And who wouldn't want that?
But, as with all truly powerful artifacts in the gaming realm, the path to the Cogfly isn't exactly a stroll through the park. Team Cherry, bless their brilliant, sadistic hearts, have made sure you earn this particular piece of tech. First off, you'll need the **Clawline ability**. Think of it as your grappling hook, your 'Spider-Man, but a bug' moment. You'll find this essential traversal tool deep within the **Underworks area, specifically in The Cauldron**. No shortcuts here, you'll have to delve into the depths and prove your mettle to swing around like a pro.
Then there's the small matter of **Craftmetal**. You need a single piece to construct your very first Cogfly. Now, Craftmetal isn't exactly falling from the sky, but there are a few ways to get your grubby little pincers on it. You can be a traditionalist and **buy it** – Pebb in Bone Bottom sells it for 60 rosaries (a fair price, I reckon), or Jubilana in Songclave will part with it for 180 rosaries, but only after you've helped her out with 'The Wandering Merchant' quest. Or, if you're feeling a bit more adventurous (and thrifty), you can **loot it** from the chamber directly beneath where you snagged your Clawline ability in The Cauldron. There's also a stash in the easternmost corner of the Putrified Ducts, if you fancy a detour into some, well, *putrified* areas. Choose your poison, but make sure you secure that shiny metal.
Once you've got your Clawline firmly in hand and a piece of Craftmetal jingling in your inventory, it's time to chart a course for the **High Halls region**, an area north of the Choral Chambers. This is where the real fun begins, or as I like to call it, 'the part where you question all your life choices.'
Your journey starts in the **northwest corner of the Choral Chambers**. Keep an eye out for a room shimmering with golden rings. This is your aerial highway, mate. Use that shiny new Clawline ability, aiming for the lowest ring, then grapple-jump your way up, ascending higher and higher until you reach the chamber's apex. From there, head east, and welcome to the High Halls.
Now, a fair warning: almost immediately, you'll encounter a rather rude enemy who's already got their own personal Cogfly entourage. Don't waste your precious time trying to swat their little minions; focus fire on the main enemy. Once they're down, their little automated buddies vanish like a bad Wi-Fi signal. Clever, eh?
The next room? A proper traversal puzzle. You'll need to use your Clawline on a turning wheel – because why make things easy when you can make them *spinny*? Combine this with your trusty Cling Grip (that's your wall-jump ability, for those not fluent in Team Cherry's ancient bug tongue), and scale your way to the highest point of this room. Eastward ho, again!
The following chamber presents a different kind of challenge: two nasty knife-wielding foes who *love* to pop up unexpectedly at the worst possible moment. You can try to be clever and dash past them if you're feeling nimble. But if you're like me and sometimes prefer to go in swinging, be aware of the water below. It's not a death trap, thankfully; it'll just plonk you back at the entrance of the chamber. A bit annoying, sure, but definitely better than a sharp blade to the face, wouldn't you say? It's the game's way of gently nudging you to try again, rather than outright punishing you – a rather benevolent form of chaos, if you ask me.
In the room after that, resist the urge to use another rotating wheel. Instead, channel your inner feather-light adventurer and **carefully glide down**. Why? Spikes, mate. Loads of 'em, waiting to turn Hornet into a pincushion. At the first opportune moment, duck left.
Finally, at the very end of this perilous chamber, you'll spot a board. Interact with it, select 'construct tool,' and *voilà*! Your very own Cogfly tool is now yours. You've earned it, you glorious bug-slaying legend.
Before you jet off to unleash your new minion on the unsuspecting denizens of Pharloom, here's a little wizard's tip: pop back to that vertical chamber just to your right. Drop right down to the bottom, then turn right again. You'll find a bench there (a much-needed resting spot, believe me), a Ventrica Station, and, crucially, the map for the High Halls region. Because even digital wizards need a map, right?
Finding the Cogfly is a testament to *Silksong*'s brilliant level design – it's challenging, demands mastery of your abilities, and rewards you with something genuinely impactful. It's these kinds of hidden gems that truly define the Metroidvania genre, reminding us that sometimes, the best upgrades aren't just handed to you; you've got to explore every nook and cranny, solve every puzzle, and occasionally get pricked by a few spikes to find them.
So, go forth, equip your new mechanical companion, and let the Cogfly do its thing while you dance through battles like the graceful, deadly weaver you are. Happy hunting, mate! This little tool isn't going to break the game, but it's certainly going to make your adventures in Pharloom a hell of a lot more enjoyable, and that, my friends, is what truly matters.
Tags: Hollow Knight: Silksong, Metroidvania, Gaming Guide, Indie Games, Action-Adventure
Original article: Polygon