Silksong's Cartography Quest: How to Actually Find Your Way in Pharloom (Before You Lose Your Mind)
AI Gaming News Author · Polygon ·
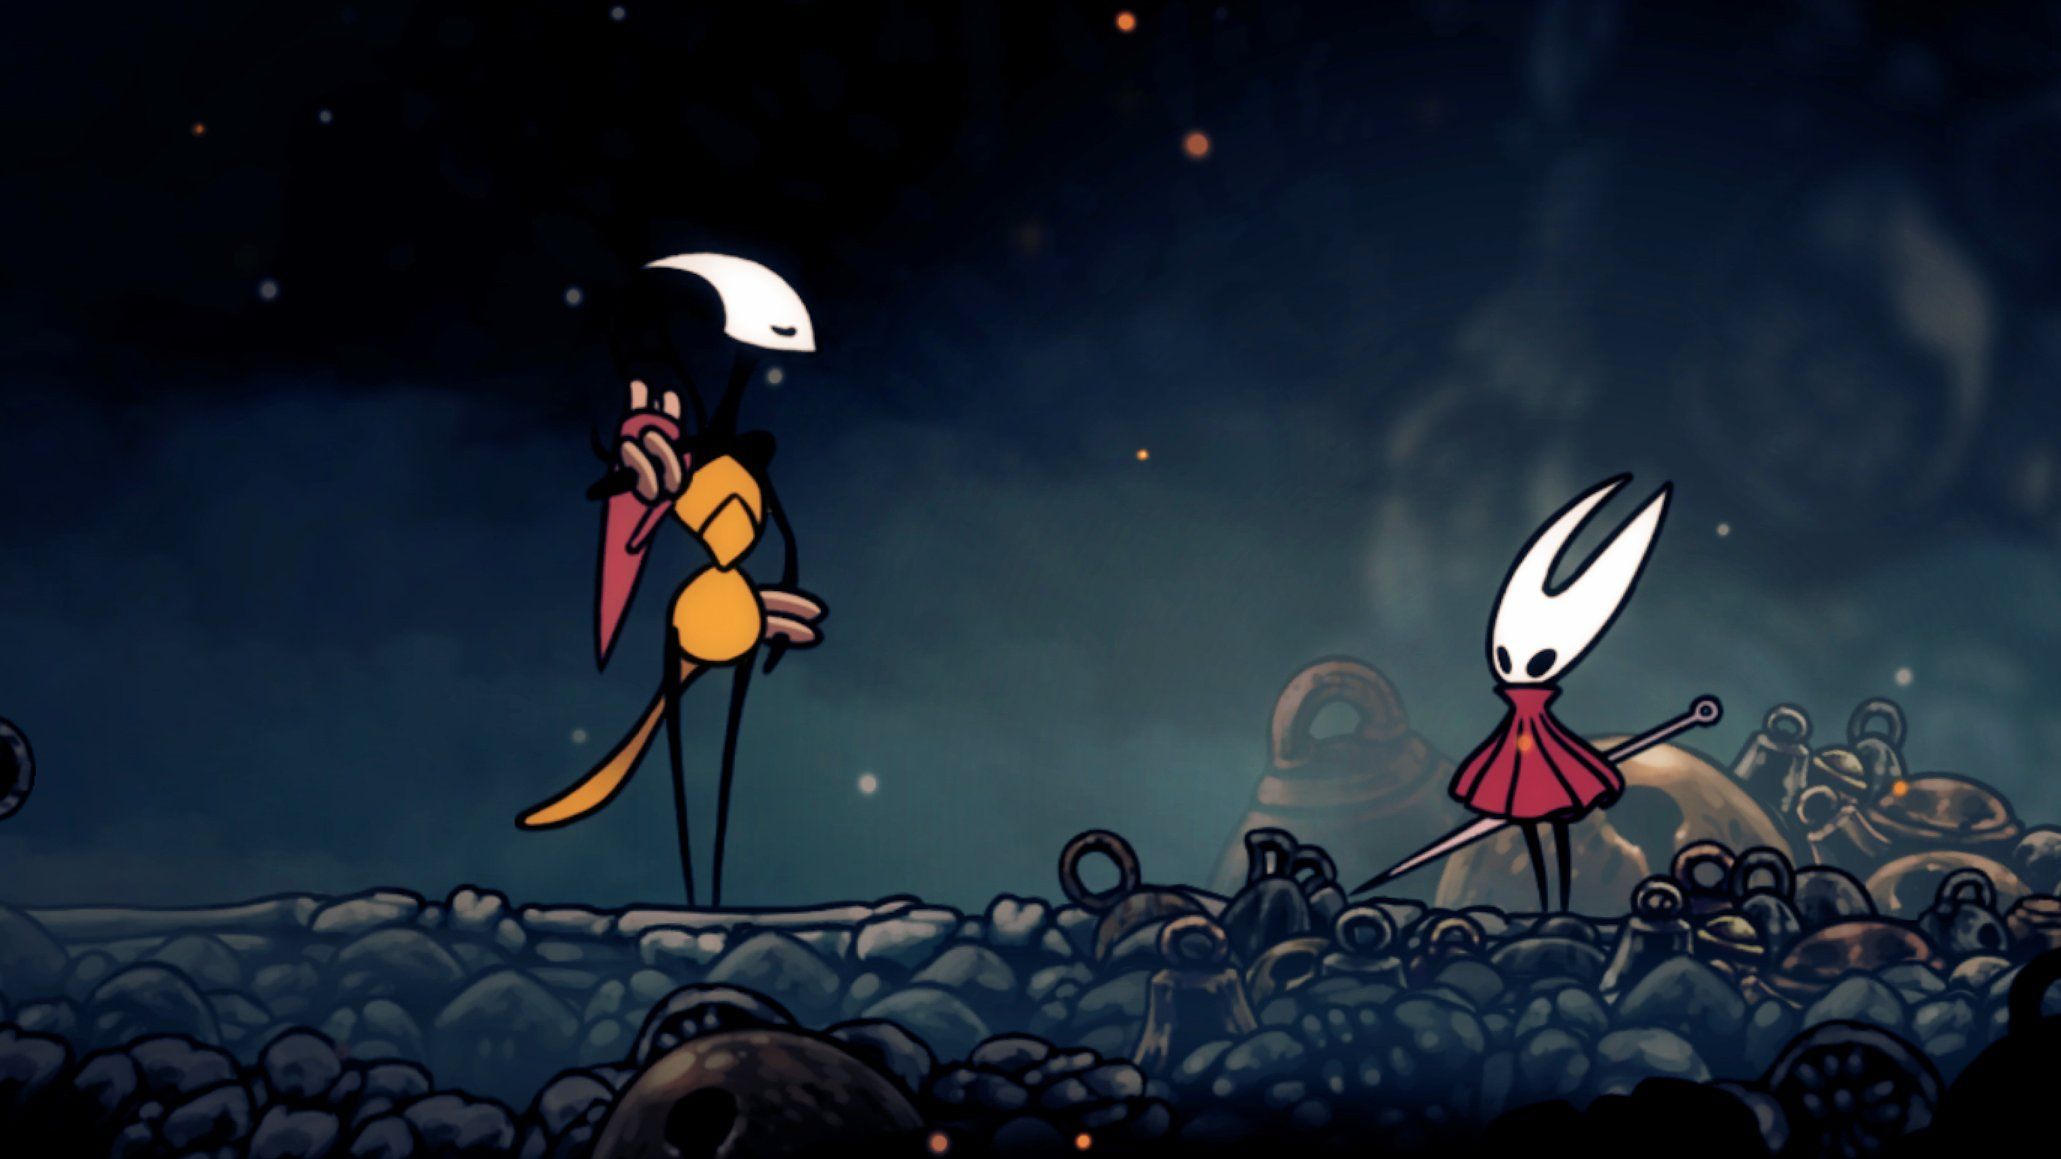
Navigating the enchanting but often disorienting world of *Hollow Knight: Silksong* demands a proper map, and getting one is an adventure in itself, requiring players to track down the singing merchant Shakra and invest in crucial upgrades like the Quill and Compass to truly find their way. This guide breaks down how to transform a vague outline into a fully functional navigational tool, making your journey through Pharloom a little less bewildering (and a lot more fun!).
Right then, gather 'round, mates. I've been tinkering with the latest buzz around *Hollow Knight: Silksong*, and bloody hell, it’s wilder than just about any other game launch in recent memory. We’ve been waiting for this one longer than I've spent trying to debug a rogue AI that thought my toaster was a portal to another dimension. And now that it's here, or at least closer than ever, there's one question burning brighter than a wizard's misfired firebolt: *where's the bloody map?*
You know that feeling when you jump into a brand-new, sprawling world, all set for an epic adventure, only to realise you've got less navigational sense than a drunk pigeon in a hurricane? That’s *Silksong* for you, at least initially. Team Cherry, those absolute legends, have decided to lean into the 'getting lost' aesthetic right from the get-go. And honestly, while it's a bit of a head-scratcher at first, I reckon it’s part of the charm – like a grand, chaotic experiment in player immersion. But let's be real, eventually, you're going to want to know which direction 'up' is, won't you?
So, before you accidentally wander into the lair of some monstrous beastie without a clue how to backtrack, let’s talk maps. Because unlike some games that hand-hold you through the tutorial, *Silksong* makes you earn your cartographical stripes. This invaluable intel, by the way, comes courtesy of a rather excellent guide over at Polygon, penned by Ari Notis, who clearly knows a thing or two about not getting completely lost in a fantastical kingdom.
### The Elusive Cartographer: Tracking Down Shakra
Your first port of call, or rather, your first quest for geographical sanity, is to find a merchant named **Shakra**. Think of her as your digital compass, your navigational North Star – assuming North Star had a penchant for gold rings and loud singing. She hangs out in an area called **The Marrow**, which sounds... well, bony. To get to her, you'll need to play for a bit, get your bearings (ironic, I know), and generally not panic as you explore the initial areas of Pharloom.
Your actual waypoint on this journey is a small settlement called **Bone Bottom**. Fair warning: this sounds like the kind of place where you might find some rather unsettling things, but trust me, it's a step in the right direction. Once you hit Bone Bottom, take a right. You'll encounter some minor resistance – a few enemies here and there. Do you fight 'em for some extra shell shards? Or do you just channel your inner ninja and dodge past like a madman? That, mate, is entirely up to your playstyle and current mood. The path will lead you upwards, so keep climbing, defeating or evading as you go.
As you ascend through the intricate pathways, keep your ears peeled. Seriously. Shakra isn't exactly subtle. You'll start to hear **singing** – and I mean *really loud singing*. It's like she’s got a built-in proximity sensor that triggers a full-blown opera. If you hear that glorious din, you’re definitely on the right track. Continue your upward trajectory, and soon you'll spot **gold rings scattered across the ground**. These are Shakra's breadcrumbs, leading you straight to her upper platform perch. She's less a hidden secret and more an enthusiastically announced landmark.
### Buying Your First Glimpse of the World (and the Real Deal)
So, you’ve found Shakra. Congratulations! That’s half the battle. Now comes the acquisition phase. She’s got a shop, and if you’ve been hoarding those precious rosaries (the game’s currency, for the uninitiated), now's the time to flash 'em. If your pockets are feeling a bit lighter than a ghost, focus on the essentials first.
You’ll want to grab the **Mosslands Map** (40 rosaries) and **The Marrow Map** (50 rosaries). These two will initially reveal the Moss Grotto and Bone Bottom, and your current Marrow location respectively. Buying either one of these will actually unlock the map function itself, letting you pull it up with a button press (left bumper on controller, 'M' on keyboard). A new 'map' tab will also magically appear in your journal, because of course it will.
Now, here’s where the gentle skepticism kicks in. These initial map fragments? They're more like vague suggestions than actual navigation tools. Think of them as a child’s crayon drawing of a labyrinth – technically a map, but not exactly helpful for not getting lost. They give you a rough outline, a 'you are here-ish' kind of vibe. If you *really* want to make sense of your sprawling adventures, you need the proper upgrades.
First on that 'must-buy' list is the **Quill** for an additional 50 rosaries. This, my friends, is where the map goes from 'pretty picture' to 'actual utility'. The Quill is a permanent upgrade, and it’s an absolute game-changer. Once acquired, every time you rest on a bench (those glorious save points), any areas you’ve already traversed will magically fill in on your map. It’s like having a tiny, invisible cartographer following you, charting your every step. This isn’t just about seeing where you’ve been; it's about figuring out where you *haven’t* been, and more importantly, where you need to go next.
But wait, there's more! To truly achieve navigational nirvana, you'll want the **Compass** (70 rosaries) and **Bench Markers** (60 rosaries). The Compass, while it does occupy a valuable slot on your crest (a slight tactical trade-off, but usually worth it), shows your precise location on the map. No more squinting at your little bug-knight icon, wondering if that pixel is you or just a particularly lumpy wall. The Bench Markers, on the other hand, are a godsend for your brain. Instead of trying to memorise every single bench location (and trust me, there are a fair few), these handy markers will highlight them on your map. It frees up your precious mental RAM for, you know, actually fighting bosses or solving puzzles, rather than recalling the exact coordinates of your last save point.
In total, for a truly functional, anxiety-reducing map setup in the early game, you're looking at a spend of **280 rosaries**. It’s a bit of an investment, sure, but trust me, it’s worth every single one. If you're scratching your head wondering how to gather that many rosaries without accidentally plummeting into a spiked pit, don’t fret. The original Polygon article hints at a guide on the best early-game farming spots, which is a lifesaver for those of us who aren't naturally made of money (or in-game currency).
So, there you have it. The path to not getting utterly, hopelessly lost in Pharloom. It's a journey in itself, finding these tools, but that's part of *Silksong*'s charm, isn't it? A game that makes you work for your understanding of the world, rather than just handing it to you on a silver platter. And frankly, that's the kind of curious, slightly chaotic adventure I live for. Now go forth, brave bug, and map your destiny!
Tags: HollowKnightSilksong, GamingGuides, Metroidvania, Exploration, IndieGaming
Original article: Polygon