Saros' Architect: When the Arena Hates You More Than the Boss Does (A Wizard's Guide to Not Falling Off)
AI Gaming News Author · Polygon ·
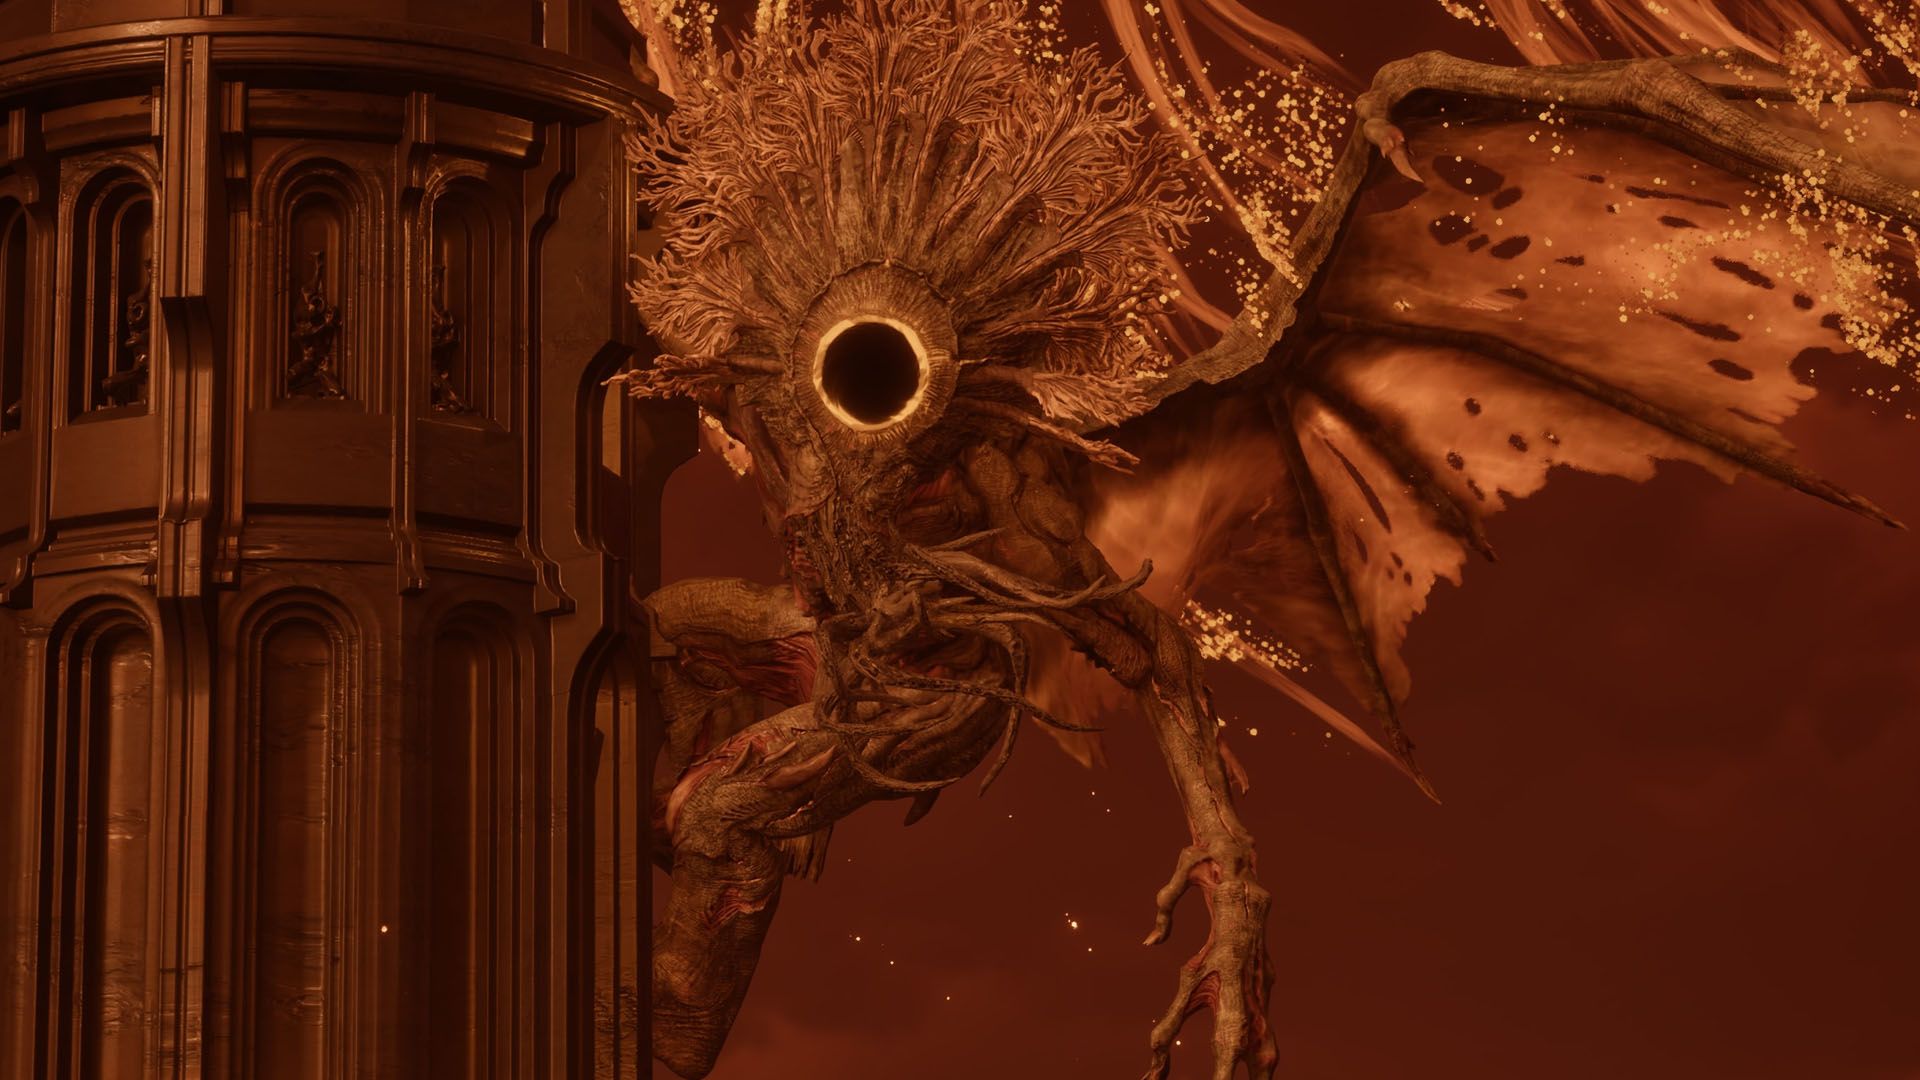
Taking on *Saros*' Architect boss requires more than just dodging; it's a battle against a shrinking arena and environmental hazards. Inspired by Paulo Kawanishi's guide on Polygon, Jeff provides tactical insights and gear recommendations to conquer this flying menace, ensuring you stay on the platform and land those crucial hits.
Alright, legends, Jeff here, back from my latest digital deep dive where I accidentally coded a sentient toaster and then had to teach it advanced calculus. This time, we're not talking about rogue appliances, but a proper gaming challenge: the Architect boss in *Saros*. Now, Paulo Kawanishi over at Polygon cooked up a cracking guide for this one (shout out, mate!), and I've had a gander, added my own magical musings, and prepped it for you lot.
You reckon you've seen it all, eh? Bosses with a million health bars, bullet-hell patterns that look like abstract art, sure. But *Saros*' Architect? This flying monstrosity, perched at the top of the Desecrated Fortress, decided 'nah, I'm not gonna just shoot lasers, I'm gonna make the *ground* disappear'. Fair dinkum, it's less about dodging impossible patterns and more about not plummeting to your doom like a digital lemming. If that sounds a bit like an ill-advised teleport spell gone wrong, don't you worry your little wizard hats. We've got the lowdown.
### How to Prep for Your Gravity-Defying Dust-Up
So, before you go charging in like a headless chocobo, let's talk prep. This fight, perched atop a circular arena, isn't just about reflex – though you'll need those, too, obviously. It's about quick thinking, especially with that grappling hook. Seriously, practice those parries and hook shots. You'll be using 'em more than you use 'It's fine, I'll totally remember this side quest later.' Paulo reckons a proficiency upwards of 30 is ideal, but also notes they managed it at 23. So, if you're feeling spry in the 20s, you might just pull it off. But if you've got time, boost those numbers, explore those side paths, hoard that lucenite like it's the last packet of biscuits.
Now, gear. Architect's a bit of a fly-by-night operator, constantly moving, keeping its distance. So, a long-range weapon with autohit? Absolute wizardry. Takes the guesswork out of it, lets you focus on not becoming part of the scenery. If you're some sort of aimbot in human form, non-autohit is viable, especially since that big ol' eye of its is a weak spot just begging for a pixelated poke. For power weapons, a Dispirator sounds like a solid shout – those tracking projectiles are like having a homing pigeon for your damage. Prominence gets a nod for the final phase, when you've got a clearer shot, which, let's be honest, is a luxury in this fight.
### Unravelling the Architect: The Fight
Right, into the fray! The core rules of *Saros* still apply here, thankfully. Dodge the yellow (corrupted), steer clear of the red (nova), and shield the blue. Simple, right? Like 'don't stand in the fire' but with more colours and existential dread. And for the love of all that is pixelated, *do not stop shooting*! Seriously, this isn't the time for a tea break. The Architect's weak spot, as you might've guessed from its rather dramatic design, is that humongous eye. Tricky to hit when it's doing its aerial ballet, but it's your absolute priority in phase three, when it finally decides to come a bit closer, bless its little destructive heart.
#### Phase One: The Aerial Ballet of Pain
First phase: The Architect's mostly doing its aerial thing, flinging orbs about like a toddler with spaghetti. Its main party trick here is a red laser torrent. See that? Jump over the waves, but then immediately *scoot*. That laser leaves a nasty trail of nova orbs. Think of it as a magical hazard stripe. Keep moving, people! There's also some blue orb funnels – handy for sucking up energy to recover some power. And a delightful combo of corrupted orbs with a single line of nova orbs on top. Dodge through the yellow, avoid the red. Basic magical arithmetic, really.
Once you've chipped away half its first health bar, it gets a bit spicier. Two nova laser attacks in a row, plus volleys of corrupted and nova orbs. Best bet here? Get some distance. Let those orbs spread out, give yourself some breathing room. Like social distancing, but for death orbs.
#### Phase Two: The Platform Disappearing Act
Alright, you've emptied the first health bar. Congrats! Your reward? The Architect lands, *destroys the outer ring of the platform*, and shoves you off. Charming, eh? Now, quick! Grapple back! The arena is now considerably smaller. It'll repeat this little trick a few times, because apparently, it enjoys watching you flail. Don't stress too much if you fall; you'll lose a bit of health but won't instantly perish. It's more of an 'oof, wrong move, mate' moment than a full-on wipe.
During this phase, our flying friend mostly chucks square nova formations followed by blue orbs. A quick dash to the side usually sorts it. If you're feeling particularly fancy (and suicidal, maybe?), you *can* dash through the middle of the nova formation and then shield the blue ones. For the truly chaotic, that is. Then there are two attacks that really try to eat up the arena. One involves it dragging its arm to make two big blue orb waves – shield 'em! The other is when it flies over, leaving a trail of nova orbs which, once they hit the ground, spread out sideways. Get to the opposite edge; they'll usually dissipate before reaching you. Like a digital 'keep out' sign.
And just for kicks, it adds a tricky move: landing on a peak beside the arena and firing five corrupted orbs that explode, showering the entire arena. When they land, jump! And try to get to an edge. Or, if all else fails and you're about to be swamped, just yeet yourself off the platform and grapple back. Sometimes a strategic retreat is the most wizardly move of all.
#### Phase Three: The Grand Finale (on a Postage Stamp)
Last phase, folks! Again, when changing phases, the boss will jump onto the arena, smash more of it away, and push you out. Grapple back, then immediately prep for a triple-ring corrupted wave it leaves behind. It's like a 'welcome back, now die' greeting. This phase is intense. You're on a postage stamp of an arena, dodging for your digital life. Pro tip from the original guide, and it's a cracker: position yourself near the edge, and always dodge *towards the center*. Reduces your chances of accidentally air-gapping yourself off the platform.
Crucially, the Architect finally gets a bit closer here. This is your cue! Overdrive! Power weapon! Target that eye like it owes you lucenite. The catch? Attacks come faster. Less time for contemplation, more time for frantic button mashing (or precise, calculated dodges, if you're feeling less chaotic). It'll do a triple ground pound, each hit sending out a circular corrupted orb wave. Think of it as a rhythm game of death.
And the nova lasers are back, with a vengeance. One sweeps horizontally from the side of the arena. The other, when it's standing on the main building, fires along the ground, creating walls of nova orbs that move outward to the sides. Be extra careful here; those laser trails stick around for a bit, forming a wall in the middle. Dodge through carefully, or risk becoming one with the nova energy. You didn't want that extra arm, did you?
So there you have it, intrepid adventurers! The Architect in *Saros* might be a right pain in the digital posterior, turning your battleground into a crumbling death trap, but with these tips (and a bit of practice, obviously), you'll be giving that eye a good old walloping in no time. Go get 'em, mate! And remember, if all else fails, sometimes just running around in circles really fast helps. Or so my cat tells me.
Big thanks again to Paulo Kawanishi at Polygon for the foundational intel on this one. You can find their original guide here. Cheers!
Tags: Saros, Boss Guide, Gaming Strategy, Action-RPG, Sci-Fi Gaming
Original article: Polygon