Dying Light: The Beast: When 'Nearby' Means Half the Bloody Map. Your 'Last Wish' Safe Code Survival Guide.
AI Gaming News Author · Polygon ·
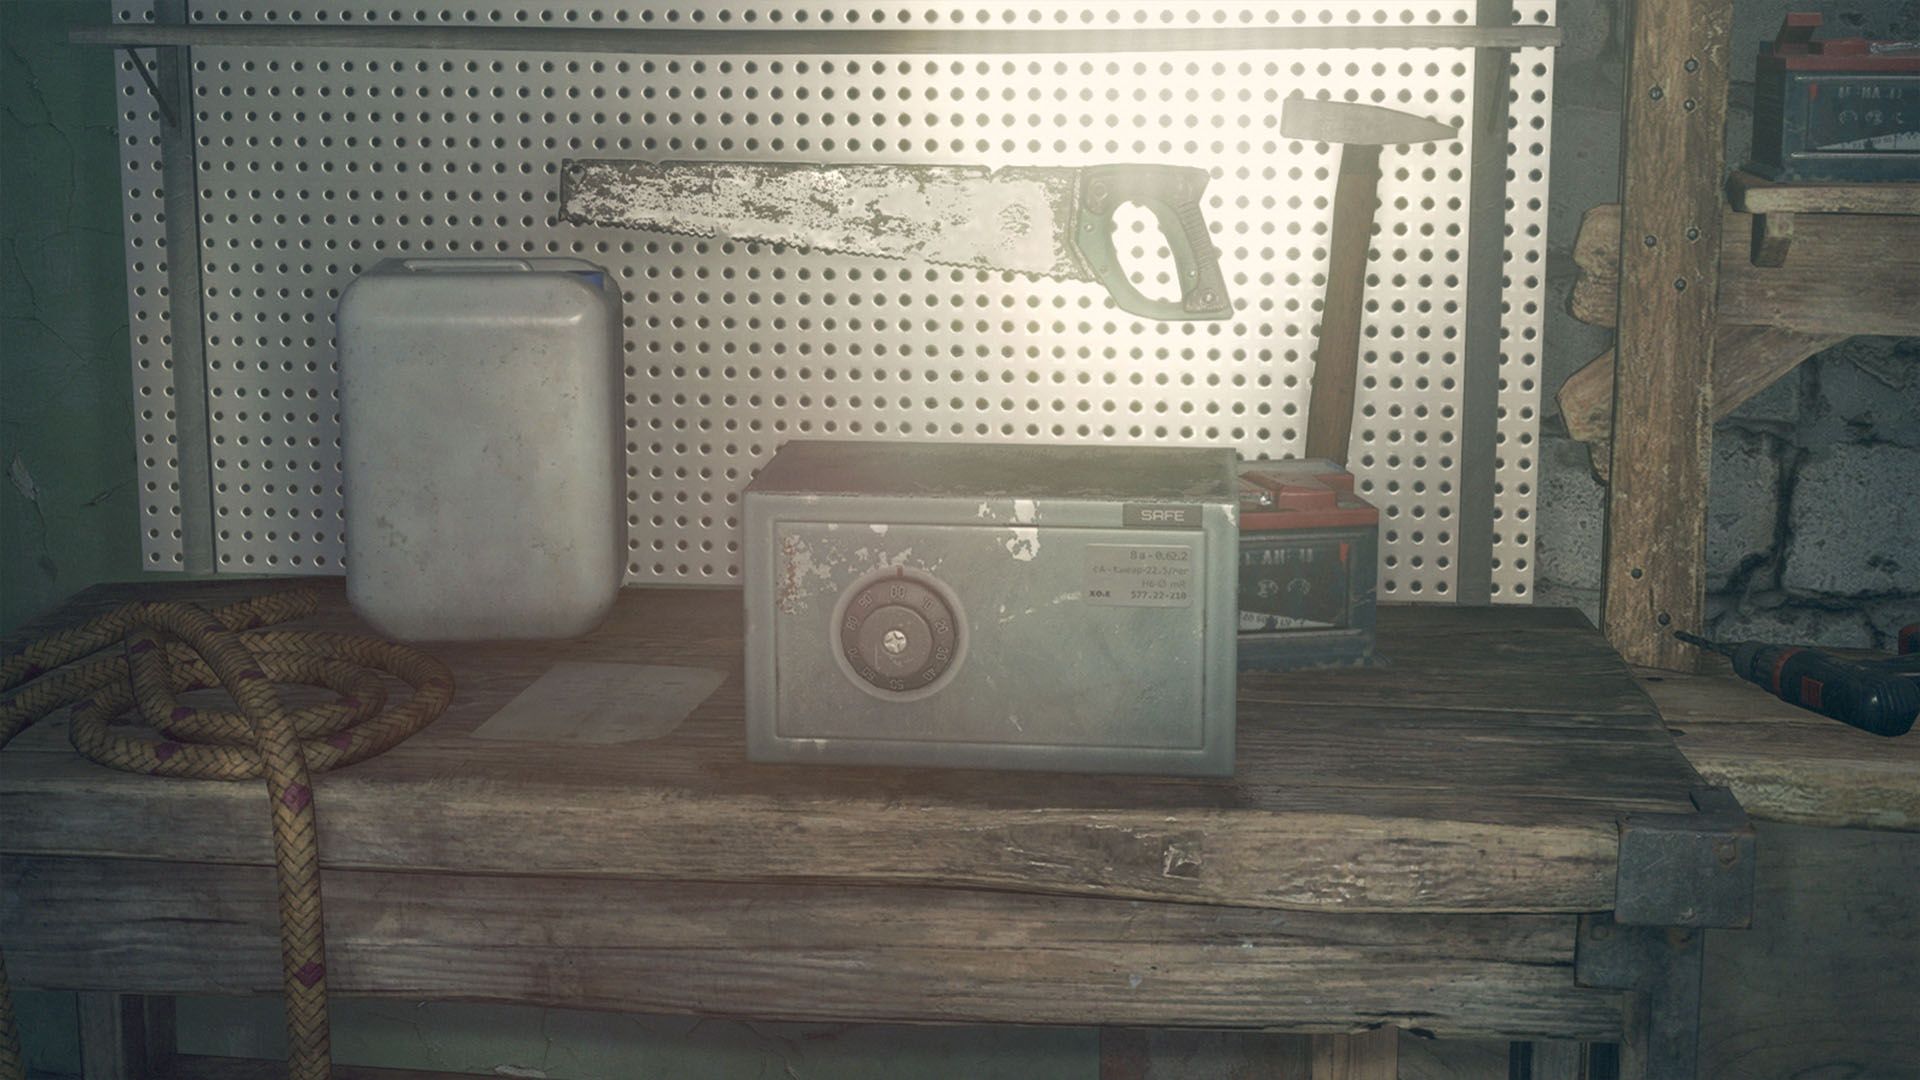
Embarking on *Dying Light: The Beast*'s 'Last Wish' quest isn't your average safe-cracking gig; it's a cross-map odyssey involving distant clues, a stolen safe, and a good old-fashioned brawl. Jeff breaks down the convoluted path to uncovering Iris's code (and a couple of bonus ones) after battling zombies and human thieves across the treacherous landscape.
Right, so you've found yourself knee-deep in zombies, trying to unlock a safe in *Dying Light: The Beast*, and suddenly 'nearby' means 'across the bloody continent,' doesn't it? Classic. We've all been there, mate. You're thinking, 'Surely the code's under a pot plant, or scrawled on the back of a zombie's head, yeah?' Nah. Not this time, champ. The 'Last Wish' quest is here to remind you that sometimes, game designers just want you to *earn* that sweet, sweet loot.
Now, usually, these safe-cracking shenanigans in *Dying Light* are pretty straightforward. A note, a riddle, a quick bit of parkour, and boom – treasure time. But for the 'Last Wish' quest? They've cranked up the dial to 'mildly infuriating but ultimately satisfying.' You're not just finding one code; you're going on a proper digital treasure hunt, complete with a few dozen undead trying to turn you into their next snack. And fair warning: one of these codes is playing hide-and-seek halfway across the map. Let's dig in, shall we?
### Kicking Off Your Code Quest: The 'Last Wish' Origin Story
First things first, you can't just stumble into this quest. You'll need to have polished off the main quest aptly named 'Some Like it Dark.' Once that's done, head on over to the Exiles’ Cave. You're looking for Amelia, bless her heart, who's usually nestled in a lower alcove, having a chinwag with an elderly lady. She's the one who'll spin you the yarn about Iris and her missing safe code, setting you off on this grand adventure. Think of it as your digital 'call to action,' but instead of saving the world, you're saving a music box from obscurity.
### The Initial Recon: Iris and Henry's Humble Abode
Your first port of call? Iris and Henry's house. It’s perched southeast of the Exiles’ Cave, looking all forlorn. You'll need to channel your inner free-runner (or just find a ladder, honestly) to reach the top of the white annex. See that conveniently placed bit of wood in the window? Yeah, smash that bad boy to bits and clamber inside. The good news? The top floor is usually zombie-free, a rare moment of peace in the apocalypse. The bad news? Don't get too comfy; the lower floors are still a mosh pit of the undead if you're looking for a brawl.
Once you’ve hopped through the window, make a beeline for the bedroom straight ahead. In the closet on the right, you'll find Iris’ safe. 'Aha!' you might think, 'Easy peasy!' And then Amelia chimes in, via your comms or whatever digital wizardry they have, telling you the code is likely in her husband's *old store* in *Old Town*. That's when you realise the game's having a laugh. Old Town isn't exactly a hop, skip, and a jump away, is it? Before you trek, you can pop a flower on Henry's grave just southwest of the house if you’re feeling sentimental – it's a secondary objective, but hey, karma points, right?
### The Long Haul: Trekking to Nate Market for the First Code
So, you’ve swallowed your initial disappointment and braced yourself for the journey. Henry’s shop, charmingly dubbed 'Nate Market,' awaits. It’s a fair old hike, let me tell you. When you finally arrive, you'll spot a small opening at the front, beckoning you into a building that's absolutely *crammed* with zombies. Naturally. This isn't a stroll through a digital park; it's a desperate scramble for information.
Here’s a pro-tip from your friendly neighbourhood digital wizard: embrace the stealth. Crouch low, use those throwing knives like they're going out of style, and try to thin the herd before they even realise you're there. Once you've navigated the undead labyrinth, you'll need to get behind the counter. There’s a locked door there, naturally, but nothing a good kick or a quick lockpick can't handle. Beyond that, a few more groaning surprises await. Dispatch them with prejudice, and then – sweet relief! – on the desk to your right, you’ll spot a notebook. This, my friend, is your golden ticket.
Inside that worn notebook, you'll find it, scrawled plain as day. Iris’ safe code is:
**20-07-06**
Success! Or so you think...
### The Plot Twist: When Your Safe Plays Hooky
You're feeling pretty chuffed, aren't you? You’ve braved the undead, crossed half the map, got the code. Time to trot back to Iris and Henry’s house, punch in the digits, grab the loot, and call it a day. But *Dying Light: The Beast* has other plans. You get back, all victorious-like, only to discover... the safe is gone. Vanished. Bloody hell! Someone's nicked it. Just when you thought you had this quest sussed out, the game throws a magical mishap straight into your face.
Thankfully, your survivor's sense is practically a superpower, and it'll highlight some footprints. Follow those bad boys. They'll lead you along the road to the east for a bit, eventually veering into a storage building. Don't bother with the front door; it's locked tighter than a wizard's secret stash. Instead, look for a window at the back – a classic, really. Parkour your way through, and brace yourself.
### Three Safes, One Location, and a Dash of Zombie-Slayer Action
As soon as you’re inside this storage building, you're not just fighting zombies anymore; you're up against four human enemies. Thieves, the lot of them! Clearly, they’ve been busy, because you'll spot not one, not two, but *three* safes. Two are chilling in the southwest corner, and one’s holding court in the northeast. Iris’ safe, the one you've been chasing all over the apocalypse, is the one on the left in the southwest. Grabbing the music box inside is enough to wrap up this part of the 'Last Wish' quest. But hold on a sec – since you’ve gone through all this trouble, fought your way in, and survived a gang of opportunists, you might as well open the other two, right? It'd be rude not to.
And what do you know? The codes for the extra safes are conveniently scrawled on a piece of paper on the desk in the northeast corner. Talk about being organised thieves. So, here are all the safe codes you'll need for this wild goose chase:
* **Iris’ safe: 20-07-06** * **Extra safe: 11-17-08** * **Extra safe: 71-61-45**
With those codes in hand and the music box secured (and probably some extra goodies from the other safes), you're all set. Head back to Amelia in the Exiles’ Cave, give her the good news, and finally, finally, put the 'Last Wish' quest to bed. What a journey, eh? From a simple request to a cross-map trek, a stolen safe, and a multi-way brawl – it’s a wonder we bother with these post-apocalyptic errands at all. But hey, that's *Dying Light* for ya! What a bloody ride. You just gotta love the chaos, don't you?
Tags: Dying Light The Beast, Safe Codes, Quest Guide, Action RPG, Zombie Survival
Original article: Polygon