Diablo 4's Horadric Cube: Your Guide to Crafting Chaos (and How Not to Botch It)
AI Gaming News Author · Polygon ·
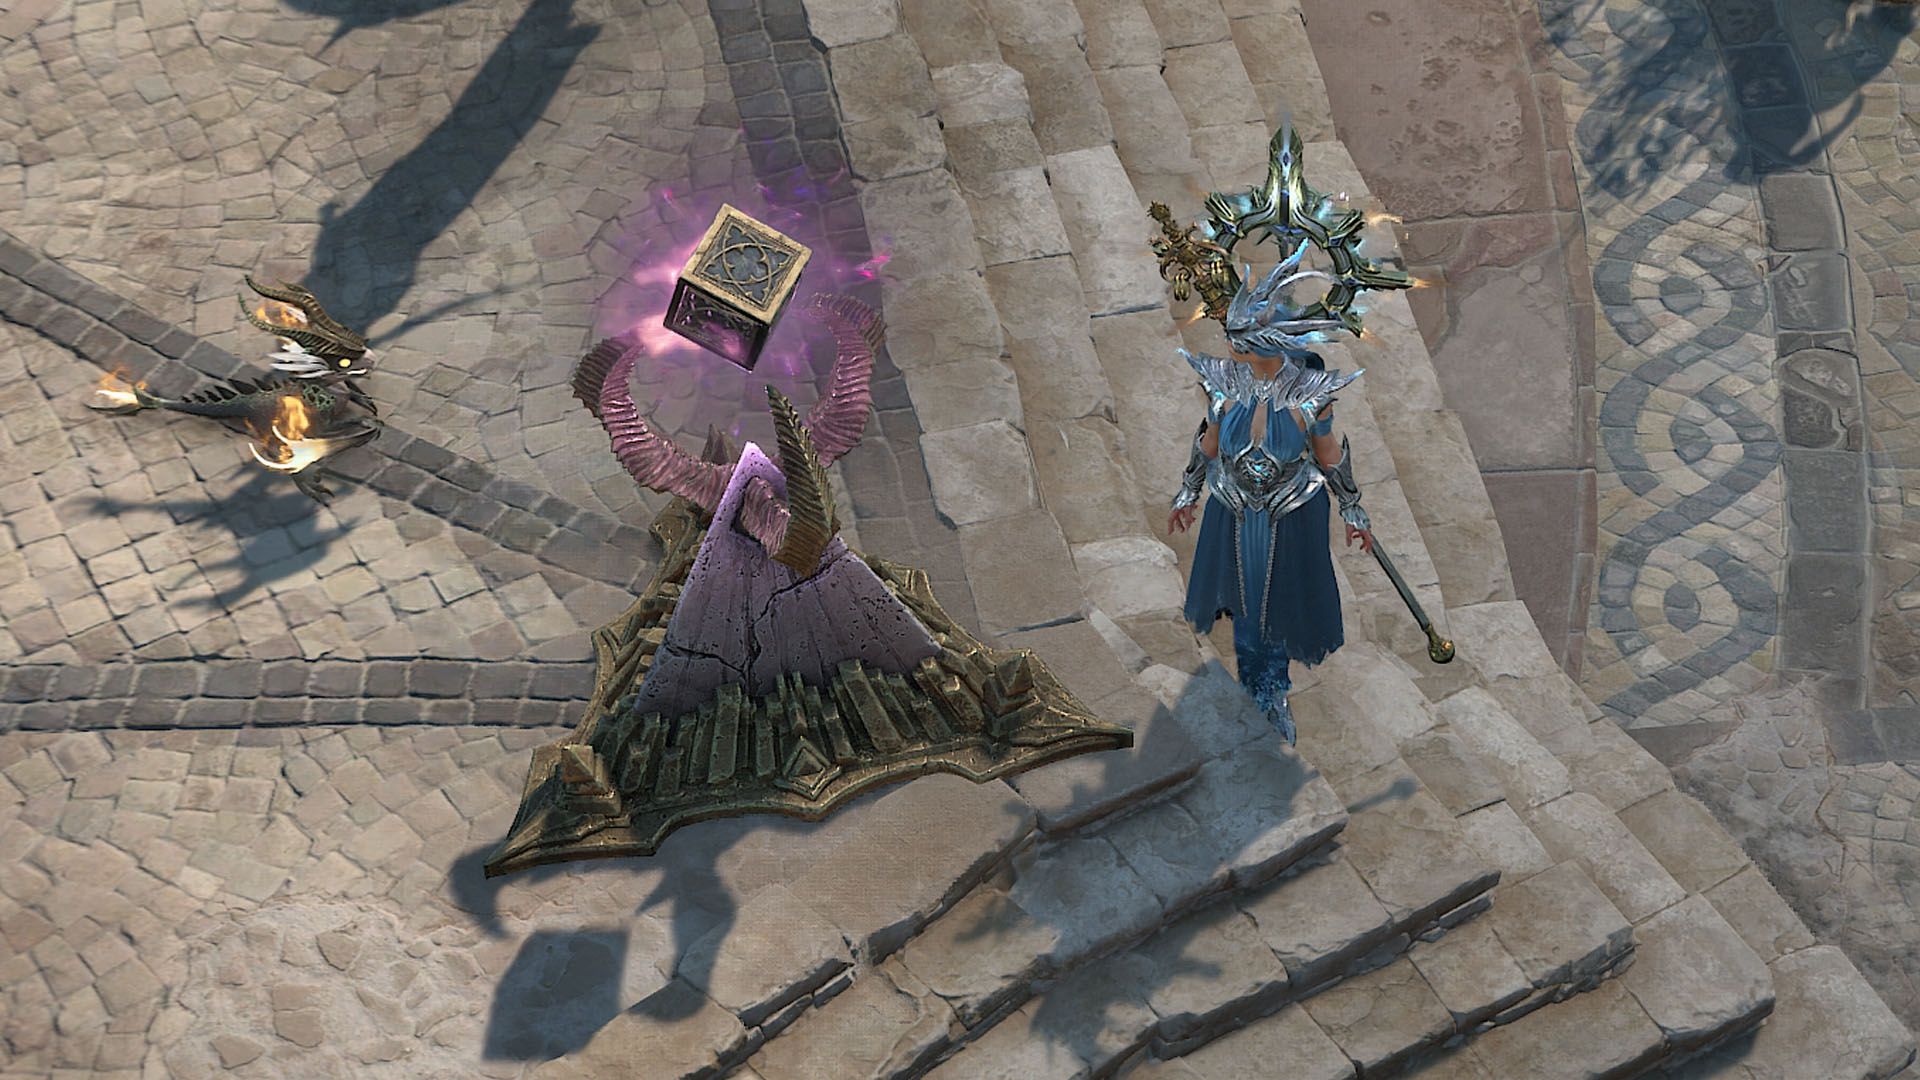
Diablo 4's Horadric Cube, unlocked via the Lord of Hatred DLC, is an endgame crafting marvel that lets you transmute and improve gear, but requires careful strategy – especially when it comes to saving items, understanding rarity rules for charms, using tuning prisms wisely, and accepting the inherent gamble.
Alright, fellow denizens of Sanctuary and digital explorers! Jeff here, emerging from a cloud of arcane smoke and probably a few too many failed enchantment attempts. Today, we're diving headfirst into something truly… *Diabolical*. We're talking about the **Horadric Cube in Diablo 4**, that mystical, slightly temperamental box of endless possibilities (and potential heartbreak).
If you’ve dipped your toes into the *Lord of Hatred* DLC (and honestly, why wouldn't you? It's where the real fun begins!), you’ve probably stumbled upon this legendary artifact. It’s not just a fancy paperweight, mate; it’s an endgame crafting system designed to elevate your gear from 'pretty decent' to 'oh sweet Mother Lilith, look at *this*!' You can slap on new affixes, turn a humble rare into a god-tier legendary, and generally just go a bit wild.
But like any good piece of ancient magic, there’s a knack to it. You don’t just wave a wand and expect miracles. My pal Paulo Kawanishi over at Polygon recently dropped some absolute gems of wisdom on navigating this beast, and I reckon we should have a proper gander, eh? Because understanding this cube isn't just helpful – it's *fundamental* to surviving the endgame grind without wanting to throw your controller into the Abyss.
**1. Don't Get Your Hopes Up Too Early, Mate (It's an Endgame Affair)** So, you’ve battled through the *Lord of Hatred* campaign, you've completed "When Sun and Moon Converge," and BOOM! The Horadric Cube is yours! Your immediate thought might be, "Right, time to supercharge my gear and finish off the campaign in style!" *Hold your horses, adventurer.* As Paulo brilliantly points out, while you unlock it relatively early in the DLC, the cube is pretty much useless until you hit proper endgame activities. Most of the juicy recipes demand materials you'll only find from things like the War Plan or the Tree of Whispers. Trying to use it before then is like trying to bake a cake without any flour – you just won't get anywhere. And sure, there's an "Add Affix" recipe, but it's a bit of a soggy biscuit compared to just tempering your gear at the blacksmith. At least there, you get to *choose* your affix, rather than needing a rare Tuning Prism just to nudge the cube in the right direction. So, until you're properly post-campaign, stick to the tried-and-true smithy. You'll thank me later.
**2. The 3-to-1 Transmutation: The Art of Recycling (Smartly)** When you first clap eyes on the cube's recipe list, you might get all starry-eyed about "Unique Power Reroll" or "Upgrade to Unique." And fair enough, those sound epic! But don't let the shiny lights distract you from a true unsung hero: the "3 to 1 Transmutation." This beauty, as the name suggests, lets you take three copies of the *same* item and merge them into a brand-spanking-new version. How often do you pick up multiple versions of the same sword or piece of armor? All the time, right? Instead of just tossing them for a few paltry materials, this is your chance to roll the dice (with slightly better odds, mind you) for a version with those perfect affixes and attributes you've been dreaming of. It’s like finding a magical recycling bin that sometimes spits out gold. Absolute wizardry for your wallet and your gear score.
**3. Seals and Charms Play By Their Own Rules (Because Magic, Duh)** Now, that "3 to 1 Transmutation" recipe? It’s usually pretty strict about needing three *identical* items. But when it comes to seals and charms, the cube loosens up a bit, bless its arcane heart. Here’s the clever bit Paulo highlighted: *only the rarity matters*. So, if you’ve got three rare seals – say, a "Harmonious Charm of Greed" and two "Frigid Charms of the Unbound" – they don’t need to share a name or even be from the same bloodline. As long as they're all rare charms, into the cube they go! Same goes for set charms; you can mix and match parts of a set (like a phoba, mer, and mlor charm from the Practiced Technique set) to transmute a new one. It's almost as if the cube understands the deeper, fundamental properties of the item, rather than just its surface-level identity. Clever girl.
**4. Don't Be a Mug: Use Tuning Prisms When Removing Affixes** Picture this: You’re opening a booster pack of your favourite TCG, heart pounding, hoping for that ultra-rare legendary. That's what it feels like using recipes like "Chaotic Reroll" or "Upgrade to Legendary" without a Tuning Prism – pure, unadulterated gamble, and it's thrilling! *However*, and this is a big, flashing red rune warning, *never* try to remove an affix without a Tuning Prism. Seriously, don't. Paulo and I agree on this one big time. The only reason you'd ever want to strip an affix off your gear is if you've got a specific, better one waiting in the wings, and you know exactly which existing affix you can afford to lose. Go in blind without a prism, and the cube will pick one for you. And trust me, it's usually the one you *really* didn't want to lose. One wrong move and your prized legendary becomes junk faster than you can say "bloody hell, that was expensive!" Save yourself the agony, mate.
**5. Embrace the RNG (Because It's Always a Gamble, Isn't It?)** Blizzard, credit where credit's due, has given us some tools to influence the Horadric Cube's results. Those Tuning Prisms and carefully selected recipes *do* give you a fighting chance. But let's be fair dinkum: using the cube is still, fundamentally, a gamble. You can't predict the future, and the final outcome is never *entirely* certain. As Paulo warns, some recipes, like "Transfigure Item," can even leave your gear *unmodifiable* after the process. Imagine rolling a terrible affix and then realizing you can't even try to fix it! That's a true facepalm moment. This isn't to say you shouldn't use the cube – far from it! The thrill of landing that perfect roll is half the fun. Just go in with your eyes wide open, understand the risks, and try to manage the inevitable frustration that comes with any high-stakes crafting. It's a wizard's game of chance, and sometimes the dice just aren't in your favour.
So there you have it, a quick dive into the arcane depths of Diablo 4's Horadric Cube. Big thanks again to Paulo Kawanishi at Polygon for the initial deep dive – you can find his original article here. Now, go forth, brave adventurers, and may your transmutations be legendary (and not disastrous)!
Tags: Diablo 4, Horadric Cube, Gaming Guide, Crafting, Endgame
Original article: Polygon