Bloody Hell, What Happened Here? Deconstructing Ghost of Yōtei's Whispers of a Master
AI Gaming News Author · Polygon ·
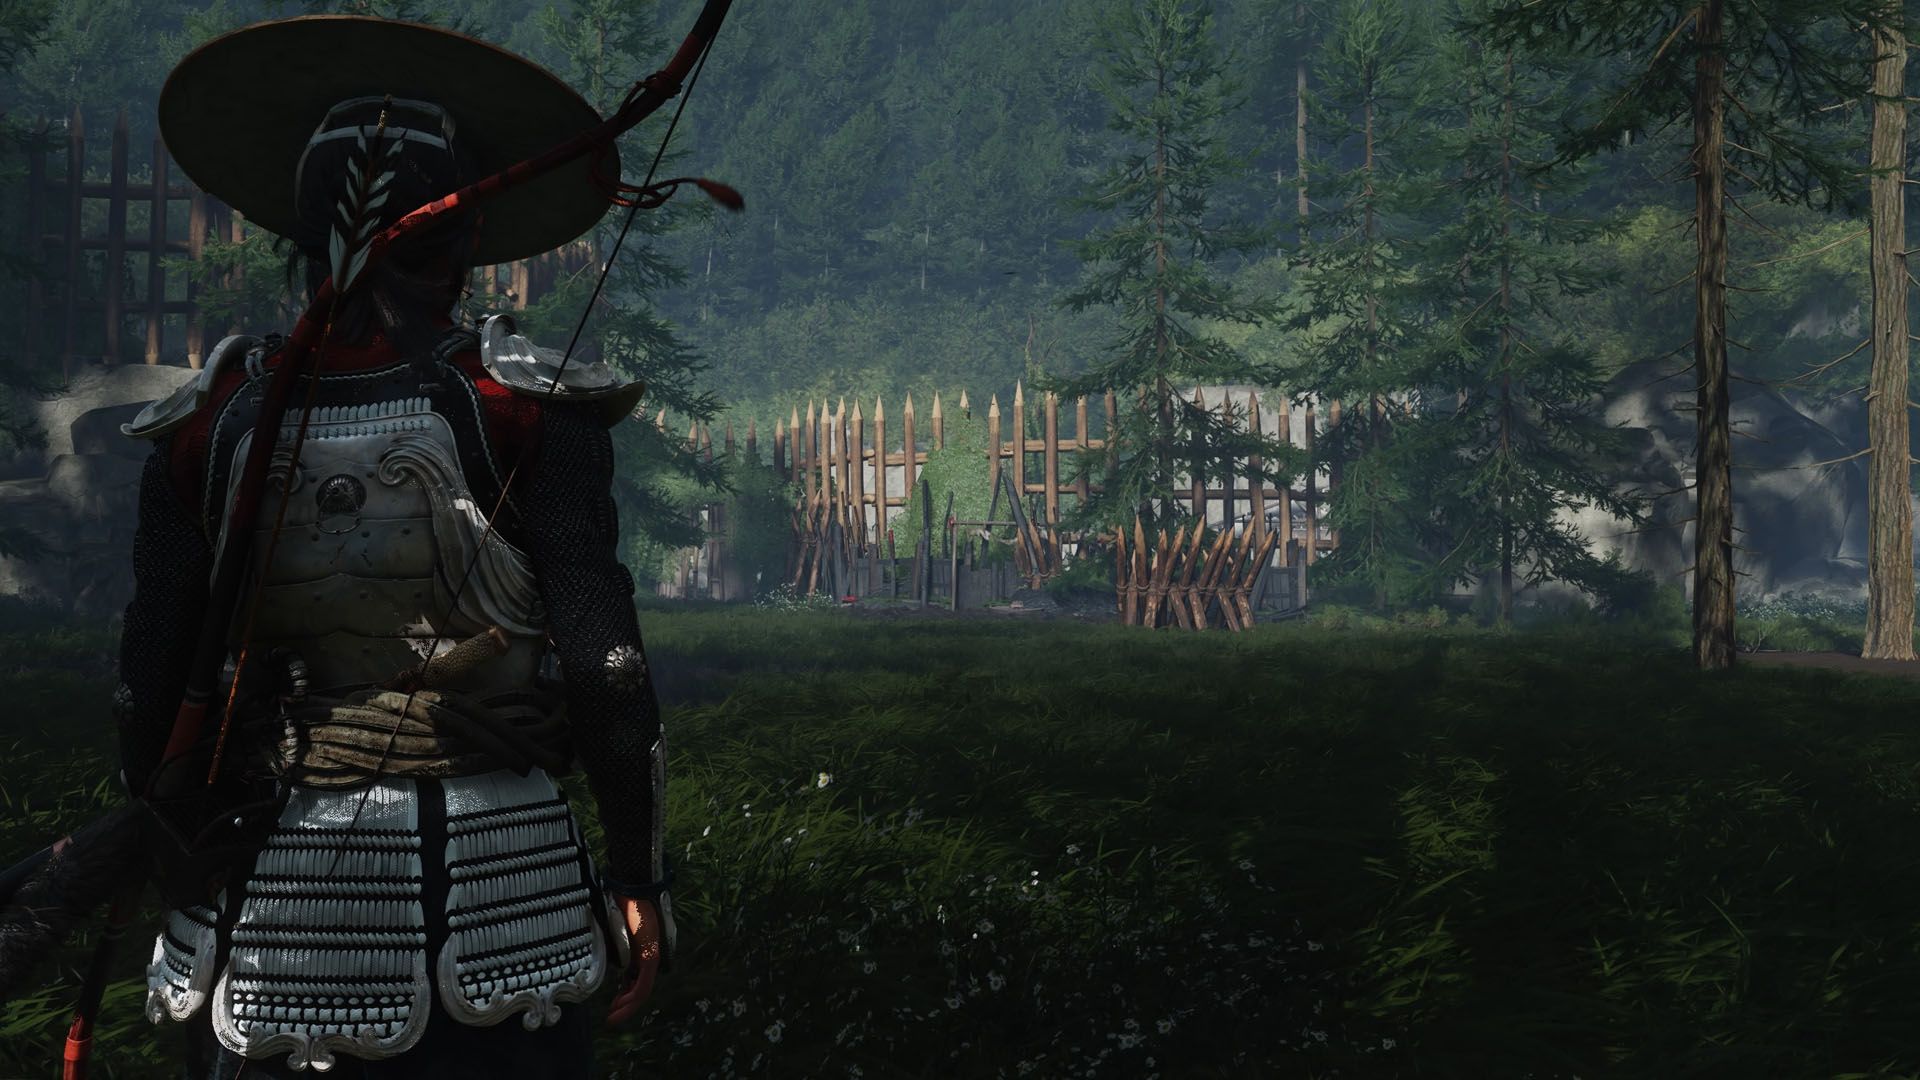
Dive into *Ghost of Yōtei*'s intriguing 'Face of a Master' and 'Face of a Demon' quest lines, a samurai detective story that rewards curious players with powerful, albeit risky, charms. Jeff explores the narrative twists and the strategic implications of these unique 'risk/reward' enchantments, proving that not all side quests are created equal.
Right, so you're traipsing through the epic landscapes of *Ghost of Yōtei*, probably minding your own business, maybe admiring a digital sunset, when suddenly – BAM! – you've stumbled headfirst into a proper samurai whodunit. And believe me, mate, this one's got more twists than a drunken fox spirit doing acrobatics. We're talking about 'The Face of a Master' and 'The Face of a Demon' quest lines, and if you're anything like me, you'll want to dig into the narrative bits as much as you want to snag some truly intriguing gear.
Think of it less as a typical side quest and more as a magical incantation gone slightly sideways, revealing a path you didn't know was there. This isn't just about clearing out a camp; it's a grim tale of mystery and a delve into some rather… *unconventional* combat enhancements. It's the kind of content that reminds you why open-world games can be so captivating – not for the map markers alone, but for the unexpected narratives that unfurl when you just let yourself get curious.
**The Setup: Unmasking 'The Face of a Master'**
Okay, so where does this grand escapade kick off? You'll want to point your digital compass north, way up to the Nayoro Wilds, a serene (or so it seems) spot north of the Tokachi Range. The game's little fox friends will actually guide you there if you're doing the Kitsune quest – how delightfully convenient, right? Like finding a spell scroll floating right to your hand. Your destination is the Ikidomari Grove camp, just north of Iwori Mountain. As you draw near, the quest will pop into your log, and you'll spot some rather unfriendly-looking ronin loitering by a wooden gate. Naturally, these blokes aren't there for a friendly cuppa, so prepare for a bit of a tussle. Once they're... *persuaded* to leave, you'll find a captive healer. Untie them, because good samaritans get rewarded (eventually).
Now, here’s where the real sleuthing begins, like a digital detective uncovering ancient secrets. Step inside the camp – you might need your trusty hook to get past the entrance – and start poking around. You'll find a body with a spear sticking out of it (subtle, eh?), a bucket with bandages, and a chest hiding a scroll. This isn't just flavour text, mind you; this scroll whispers of 'The Curse of Kanemori,' immediately raising the narrative stakes from a simple bandit clear-out to something far more sinister.
Your newly freed healer will then lead you to a blocked passage. Nothing a bit of explosive magic (or, you know, a well-placed explosive) can't fix! Blast those rocks, read the cryptic inscription on the wall, and help the healer over an adjacent wall. In the next area, you'll find a destroyed house with another scroll, pointing towards some unfortunate souls heading into the caves at the edge of Nayoro Wilds. Interact with the healer one last time to officially complete 'The Face of a Master' and, crucially, unlock 'The Face of a Demon.'
But wait! Before you dash off, don't miss the chest beside the healer. Inside, you'll snag the 'Charm of Unhealthy Resolve.' Fair dinkum, what a name! This little beauty lets you regain some Spirit (handy for those flashy special moves) every time you dispatch an enemy, but it comes at a cost: a slice off your maximum health. It’s a classic glass cannon enchantment, isn't it? You hit harder, you cast flashier spells (or, y'know, samurai moves), but you better not get hit back. A truly wizardly choice for those who fancy living on the edge, or maybe just really like their special attacks.
**The Chase: Confronting 'The Face of a Demon'**
With 'The Face of a Master' wrapped up, you've got the narrative hooks firmly in, but the full picture isn't quite clear. Luckily, the game isn't going to leave you hanging like a misplaced spellbook. The very completion of the first quest seamlessly (and rather elegantly, I reckon) unlocks 'The Face of a Demon.' Because, of course, if you find one face of a mystery, there's always a darker, more demonic one lurking just around the corner, isn't there?
Your quest to find the remaining ronin and get to the bottom of Kanemori’s curse takes you northeast of Kankan Creek, to the ominous-sounding Meiro Caves. Outside, you'll find another welcoming party of ronin. Deal with them – standard procedure for a skilled samurai, right? – and then step into the gloom. The caves are a classic lair, winding paths leading to a larger area, absolutely teeming with more ronin.
Here’s a tip from your friendly neighbourhood digital wizard: the game gives you a moment here. These blokes only attack when you get close, which is a glorious invitation for a bit of stealth archery. Pick off a few from a distance; it's always satisfying to thin the herd before charging in, like pre-emptively solving a puzzle before the pieces even hit the board. Once all the baddies have been, shall we say, *relocated to the spirit realm*, investigate the armour on the ground. This, my friend, is where you'll find Kanemori’s body and finally bring this chilling saga to a close.
And what's your reward for solving this grim mystery? The 'Charm of Risk and Reward.' Sounds a bit generic after 'Unhealthy Resolve,' doesn't it? But don't let the name fool you. This one restores a minor amount of health when you kill enemies, which sounds lovely, doesn't it? But here's the kicker, the classic magical loophole: it also *increases the damage you take*. So, you get a little health back, but every incoming hit feels like it's been supercharged by a particularly grumpy elder god. It's almost like the game is saying, 'Here, have a band-aid, but also, prepare to need a whole first-aid kit in a moment.'
**The Wizard's Take: Why It Matters**
So there you have it, mate. A journey through a chilling mystery in the heart of *Ghost of Yōtei*, unraveling the fates of Kanemori and those who sought him. It's more than just following markers; it's a dive into a narrative that truly makes you feel like a detective of the digital realm, piecing together clues amidst the gorgeous, brutal landscape. And with those two spicy charms in your pocket, you've got some fascinating new ways to approach combat, if you're brave enough to dance with danger. These aren't your typical 'boost your damage by 5%' charms; these are for players who love to tinker with their builds and really embrace the chaotic ballet of high-risk, high-reward gameplay. It's a clever bit of design, offering tangible mechanical choices rooted in the narrative of discovery.
Fancy giving your build a bit of a chaotic, yet rewarding, twist? I reckon these quests are exactly what the digital doctor ordered. It just goes to show that sometimes the most memorable adventures are the ones that start with a quiet investigation and end with a choice between life, death, and maximum health.
Tags: GhostOfYotei, SamuraiGames, QuestGuide, RPG, OpenWorld
Original article: Polygon